Monthly Archives: January 2014
Movies in Bed: Frozen

Post by Mark T. Locker.
It’s not often that I get to take my kid to the movies. His great-aunts are gracious enough to usually suffer through those base, slapstick-laden cringefests, providing Mom and my with a couple hours of quiet time. But when Mom is nowhere to be found and kid is LITERALLY bouncing off the walls, heigh-ho! Heigh-ho! It’s off to the local cinema we go! Today we are “enjoying” the Disney movie “Frozen”. It’s about a girl, a princess (naturally) named Elsa. She has a magical ability to create snow and ice. But when a playtime escapade with her little sister Anna ends in near-disaster, Elsa is forced to keep it all in. And she can’t. So she is forced into isolation. ANYWAYS fast forward, she loses it and plunges the whole place into eternal winter. Whoopsy! Interestingly, the marketing for this movie carefully avoids letting on that this is a movie about sisters and their relationship and lots of singing. My boy is not bothered by that and I don’t think the term “girl movie” crossed his mind. It’s got a silly magical snowman and the music is actually kind of catchy. (I’m going to look up this one song as soon as I finish this.) It’s based on the Hans Christian Andersen tale “The Snow Queen” so you can’t go wrong!
You can’t actually watch it in bed YET. It comes out on DVD in March. But if you have a kid, boy or girl, then you will probably end up watching this with them sooner or later.
Things We Like: Renovating Realities
Post by Kyle St. Romain.
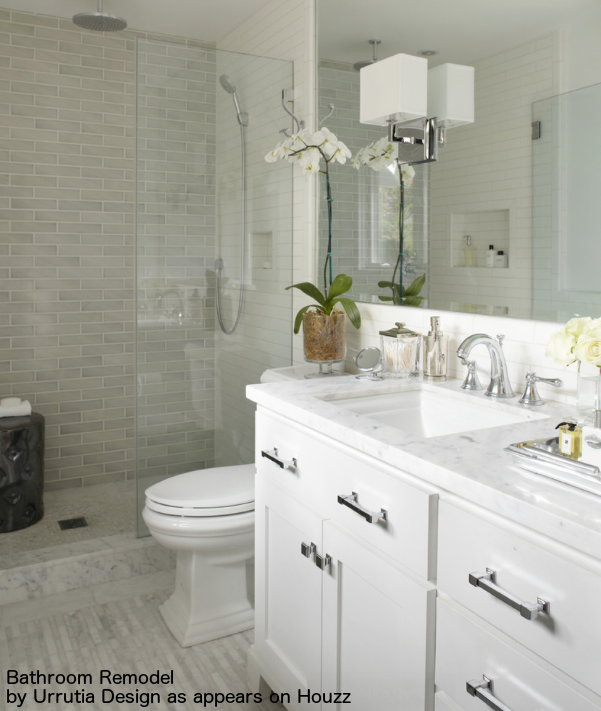
Here on the Charles Rogers Blog, we often talk about remodeling and renovating projects. Following my own advice, I recently began a project to renovate the en suite bathroom in my loft. While this isn’t a bedroom renovation, to me, an en suite is a central element to any luxurious bedroom.
Having watched countless home improvement television shows throughout my life, I never fully appreciated the Hollywood-magic going on behind the scenes of these projects. On TV, renovations are deceptively easy, even if there are some unexpected hiccups along the way; this is not the case in real life. I’m quickly realizing that even relatively simple home improvement projects take a lot of time and coordination — even if the actual work runs smoothly. While I’m still not finished with the project, heck, it hasn’t really even started yet; I want to share with you some of my early experiences to give you a better idea of the process. I will post future updates as the project progresses.
Phase 1: Brainstorming
The brainstorming session for my renovation began with a couple hours browsing through the bathroom galleries on Houzz, which really is a great resource for gathering design inspiration. Armed with my idea book of modern bathrooms that I would like to have for myself, I started looking for an interior designer to help me develop a cohesive plan for my specific space. In fact, it turns out that the designer even recommended putting together an idea book as a starting point to give them a better idea of what I am looking to accomplish. Let’s not jump too far ahead though. Before you can start working with a designer, you have to find and hire one.
Phase 2: Finding A Designer
My initial thought was to hire an interior design student. I figured this would allow me to get more work for my money as a student would be much more motivated than a professional to knock it out of the park. What the student lacked in experience would be offset by the additional time they spent on the project and their motivation to start building a real portfolio. A short email conversation with my alma mater’s design school quickly put an end to that plan. However, I did get a couple of recommendations for graduates in the area who do freelance projects. Ultimately, my plan did pay off.
Phase 3: Meeting With The Designer
Having checked out several of the recommendations, I settled on an interior designer that I thought would be a good fit for my project. After several conversations discussing price and process, he came to my home for the initial consultation/estimate about a week later. About a week after our meeting, I was presented with a design package, complete with the elevations for a custom vanity, recommended fixtures, and an overall scope for the project. This couldn’t have gone any smoother, but it still took a couple weeks just to get a plan.
Phase 4: Finding A Contractor
Having discussed the plan and budget with the designer, we both agreed that it would be more cost effective to manage the project myself and break it out into smaller parts. Without having to pay the extra overhead for a general contractor, I hope to keep the overall cost of the renovations down. The problem is that in Fort Worth, many contractors don’t have a web presence. And since I don’t know of anyone who has done renovations in the past, I had no base for referrals. After a bit of research, however, I was able to come up with a list of companies that I thought would be a good match for what I am trying to do.
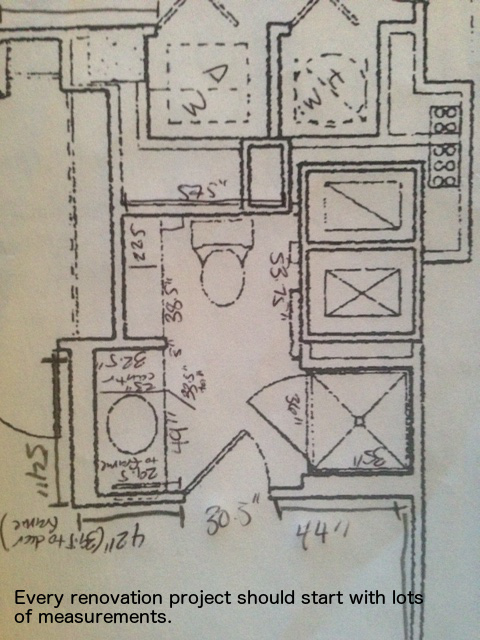
For my project I needed to find: (1) a tile layer/plumber; (2) a cabinet marker; (3) someone to build and install a barn door; and (4) a general carpenter/handyman who can handle everything else, including installing recessed lighting and relocating an overhead fixture.
The problem is that many of these companies seemed reluctant to just send out sales associates to estimate projects. Understandably, it costs them time and money to give these estimates, so they have to exercise some discretion. I solved this problem by visiting a couple companies in-person to discuss my plans and set up an appointment that way. While this really isn’t that big of a deal, it does add more time to the project. Further delaying the project is that once the contractor comes to the site, it takes them about another week to draw up an estimate for the project. I anticipate further delays in fitting my project into their existing schedules.
Next time you’re watching a home improvement show, notice how on TV all the plans are drawn up almost instantly, and there seems to be a whole construction company waiting for the green light. This is not the case in real life.
Moving Forward
Still waiting on a couple bids back from contractors, no real work has started yet. Once approved, the custom cabinets will take approximately 5 weeks to build, which I anticipate to be the biggest delay in the project. While I wish that things were moving along quicker, the extra time has given me the opportunity to refine the scope of my renovation. I’m always sure to ask for input from everyone who comes out to estimate the project; just to be sure nothing goes overlooked.
Even though I’m not making any major structural changes to my small en suite bathroom, the costs add up quickly. A couple fixtures, new cabinets, tile, labor, and a drain pan and frameless door for the shower are much more expensive than I anticipated. Hopefully this work will pay off, and I will keep you updated about the progress of this project as it unfolds.
Breakfast in Bed – Game Day Breakfast: Denver Omelet and Strong Seattle Coffee

Post by Alison Hein.
I was rooting for the Patriots during the football playoffs. The reason? New England cuisine (think clam chowder, lobster rolls and brown bread) would be preferable to Denver fare (think, uh, lamb, beef and, uh…) at our annual Super Bowl team-themed party. And while I’m still not sure how to appropriately represent Colorado for the evening meal, I’ve got breakfast covered super-bly with a Denver Omelet!
Fresh green peppers, chopped onion and country ham are the basis for this colorful, flavorful omelet. My version also calls for some sweet red peppers and zesty cheddar. If you chop everything up the night before, with 10 minutes prep time, you can be settling in for a super game day breakfast in bed. Just don’t forget the strong Seattle coffee. Heck. Make it an espresso. Stay alert as you cheer your favorite team to victory.

Ingredients
1 teaspoon olive oil
¼ cup finely chopped onion
¼ cup finely chopped red bell pepper
¼ cup finely chopped green bell pepper
¼ cup cooked ham, cut into small cubes
1 tablespoon butter
2 eggs
¼ cup grated sharp cheddar cheese (optional)
Salt and pepper to taste
Preparation
Pour olive oil in heavy frying pan and heat over medium heat. Add chopped onion, red pepper and green pepper, and cook until softened, 3 to 5 minutes. Add the ham at the last minute, just to warm through. Set aside.

Melt butter in a separate small, heavy pan over high heat. Break eggs into small bowl and whisk until mixed. Add eggs to heated pan all at once and swirl to even. Tilt pan slightly, and every few seconds, use a jerking motion to pull the pan towards you so the eggs move away as they begin to cook. When the eggs begin to set but are still very soft in the center, remove the pan from the heat for a few seconds.
Spoon about 2/3 of the onion mixture over the top of the eggs. Sprinkle grated cheddar cheese on top of the onions, peppers and ham. Return the pan to the stove, reduce heat to low, and continue the jerking motion, this time holding the pan at an even higher angle, until the omelet begins to flip over onto itself. Give it a little push with a spoon or spatula if necessary. Leave folded omelet in pan and cook on low heat until cheese melts, less than 1 minute.
Turn the omelet out onto a plate, top with remaining onion/pepper/ham mixture, sprinkle with salt and pepper, and serve immediately.
Makes 1 serving.

Things We Like: Bedrooms In The Attic
Post by Kyle St. Romain.
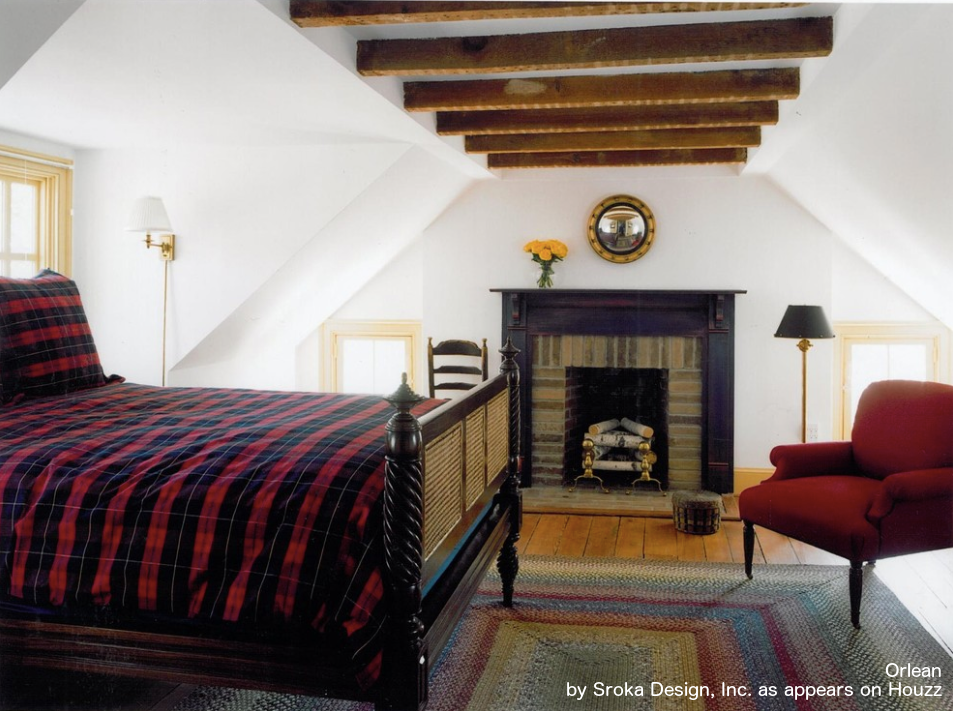
Now that I’m temporarily back in the world cable television, I’ve been able to catch up on all my favorite HGTV shows. Having watched countless episodes of Rehab Addict, Property Brothers, and Love it or List it (to name a few), I’ve noticed a bit of a trend: attic spaces converted into master bedrooms. This concept is especially apparent in older New England homes.
But why build a bedroom in the attic? Many older homes were never designed to accommodate a large master suite, something in high demand for today’s homeowner. And when lot size limits your ability to build an addition to your home, an attic bedroom provides a creative solution. While the idea of an attic bedroom initially seemed a bit strange, it’s actually started to grow on me. I am much more partial to an attic bedroom than a basement bedroom. Have a look at some wonderful bedrooms occupying these often-wasted spaces.
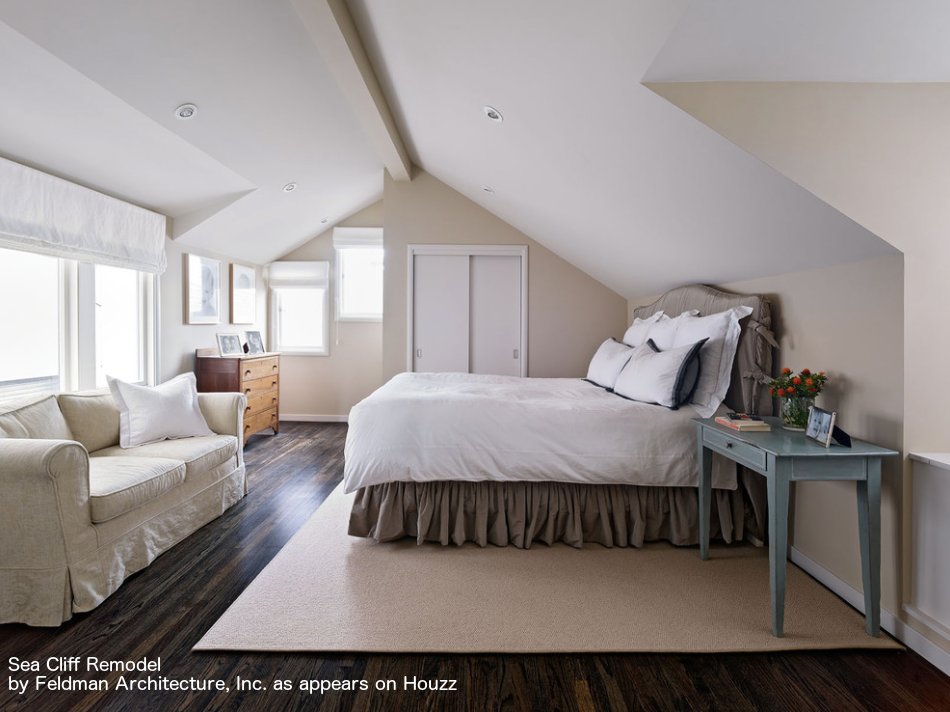
If you’re considering converting your attic into a master suite, there are some questions you should ask yourself:
- Will you mind climbing up extra stairs to your bedroom every day? Most modern bedrooms are located on the main level, which makes them convenient to access. With an attic bedroom, you’ll have the privacy of your own floor, at the cost of some extra cardio.
- Is your attic able to be converted to a master bedroom? The first consideration is size, as not all attics are big enough to accommodate a master suite. Also, if you have ductwork and hot water heaters in your existing attic it may be cost prohibitive to relocate all these utilities. Other considerations include installing windows, plumbing and electrical, as well as structural limitations. That said many attic bedrooms often feature very cool vaulted ceilings, which can add some serious visual appeal to your space that you couldn’t (or wouldn’t) otherwise create.
- Will converting your attic into a master bedroom yield a positive return on investment? To answer this question, you’ll have to do some research to see what price gains you may realize from increasing the size of your home’s living space. The return on your investment may not always be a top priority, however, especially if your home is already in your ideal neighborhood.
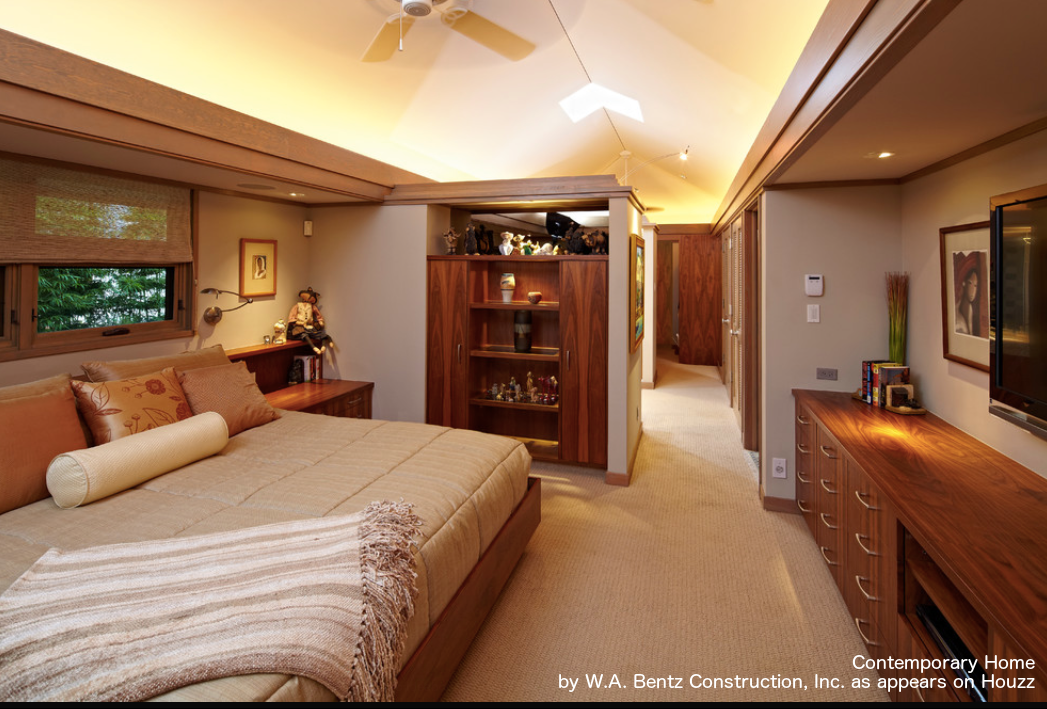
Understandably, attic bedrooms aren’t for everyone. But if your budget, lifestyle, and home can accommodate an attic-to-bedroom conversion, then you just may be able to create the master suite of your dreams. As always, I recommend checking out Houzz for more attic bedroom inspiration.


