Post by Kyle St. Romain.
Whether you’re getting your home ready to sell, collecting before and after photos of your next design project, or are just having fun we all want our photos to come out as best they can. To help you with this, I’ve put together a list of five tips to help ensure your interior photos come out looking great.
1. Preparation is Key
Before you snap the first photo (unless you want to show a before and after comparison), you will need to prepare your room for the shoot. Start by getting rid of clutter, and do a bit of cleaning. When going through your space, keep in mind that everything in the photo should have a purpose. If something is not adding to the composition, feel, or effect of the photo then you need to get rid of it. This is also a good time to start envisioning how you want to capture your room.
2. Staging for success
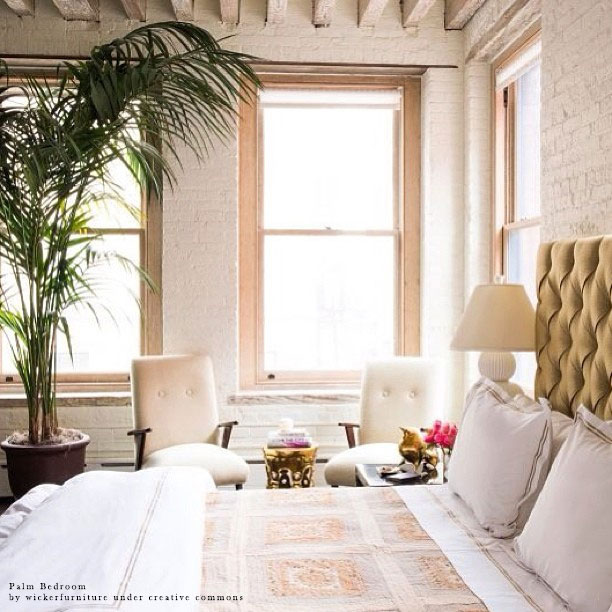
Most of those gorgeous interiors you see online are staged, meaning the rooms are dressed up specifically for the occasion. If you’ve never staged a room before, it’s easiest to start off in the bedroom. Since the focal point of any bedroom is the bed, you’ll want to make it appear luxurious and inviting. A bed made with a matching set of sheets will help you create a more coordinated look. Mirrors are also great for bringing in more light into the bedroom, and can help make smaller rooms appear more open. Remember that since one corner of the room will always be out of the photograph you don’t need to furnish the entire room — you only need to create the illusion that it is. Let the viewer’s imagination fill in the rest.

3. Learn how to use your camera
Unless you take a lot of pictures, you should probably spend some time learning about the features of your camera. Automatic settings can do in a pinch, but ultimately limit the creative control you have over the picture. Manual settings like aperture, iso, and shutter speed can be intimidating, but are easy to become familiar with, especially using digital film. And with a plethora of online resources available to you, there’s no reason not to utilize some of the more advanced features of your camera.
4. Wide Angle Lens
To capture as much of the room as possible, you’ll need to use a wide-angle lens (which has a similar effect of zooming out on a point and shoot camera). The sweet spot for interior photography is generally somewhere between 16mm and 24mm; however, some people prefer a longer lens as they feel the wide-angle perspective distorts the room. If you don’t have a wide-angle lens, you can always rent or borrow one from a friend.
Something to be aware of is that most entry-level DSLRs have a crop sensor, which multiplies the focal length of the lens by 1.5 for Nikon cameras and 1.6 for Canon cameras. This means that to create a focal length of 16mm with a crop sensor camera, you’ll need to use a 10mm lens.
5. Have fun!
The most important part of taking great interior photos is to have fun! The more fun you have, the better your pictures are likely to turn out. Great photos can help you show off the beauty of your space and capture the imagination of the viewer. A weekend session can be a great excuse to spruce up your home and hone your interior photography skills.

