
Monthly Archives: November 2014
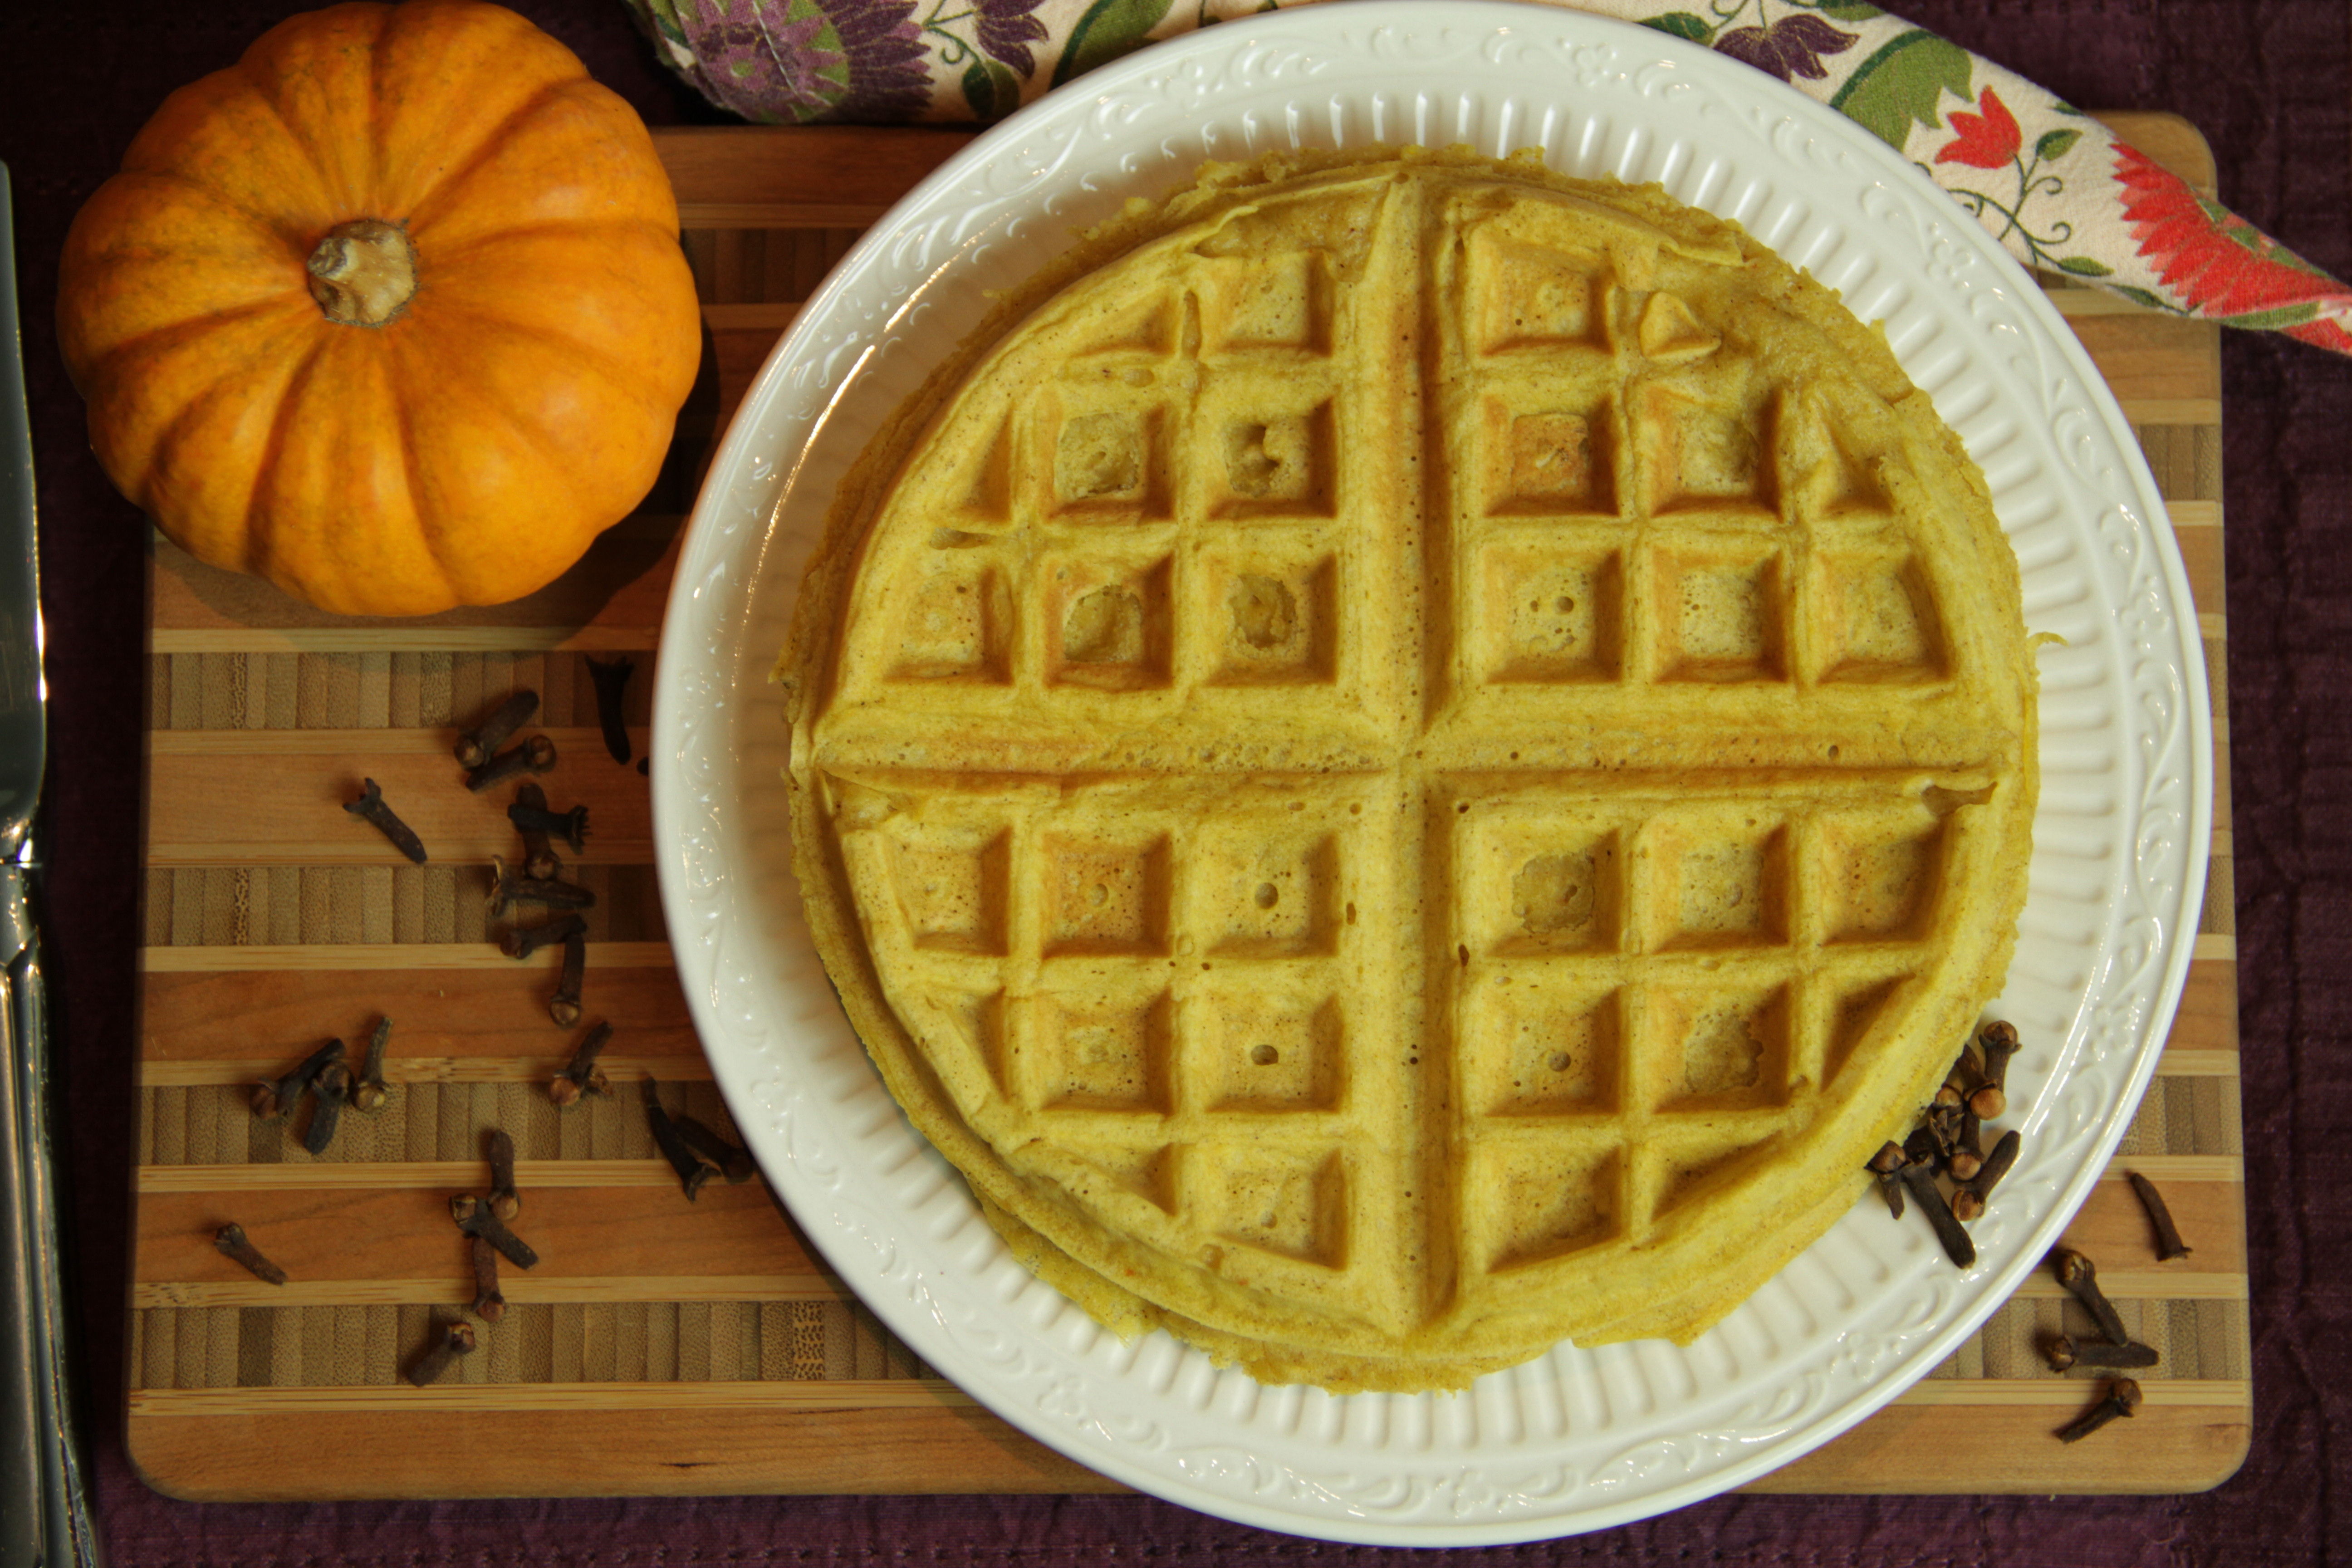
Breakfast in Bed – Pumpkin Pie Waffles
by Alison Hein.
Pumpkin is a harvest food. It’s not right to partake of pumpkin outside of autumn (it would be like eating gazpacho in winter, or a thick stew in summer). Savory pumpkin is wonderful. I like to chop and clean a fresh pumpkin, drizzle it with oil and spices, and roast it in a hot oven for an evening side dish. But sweet pumpkin is even more wonderful. Cooked, puréed, blended with eggs and a medley of pie spice, pumpkin rises to its flavorful peak. And since it’s November (and I shouldn’t have pie for breakfast), I’ve transformed waffles with sweet pumpkin and luxurious spice.
The trickiest thing about making waffles is pouring the proper amount of batter into the iron. Too much, and the gooey batter oozes from the edges and drips down the sides. Too little, and the puny waffles will be tough, and the rim of latticework ruined. With practice, you will be able to get it just right for your particular waffle iron and recipe. When you experiment with new batters, however, you may find yourself back at square one. For me it’s an easy decision – go for the heavy pour, then trim the waffles and scrub the iron when finished.
So blend; pour; trim; slosh with real maple syrup. Then partake of a harvest pumpkin breakfast in bed just as wonderful as pie.

Ingredients
2 cups flour
¼ cup sugar
1 tablespoon baking powder
1 teaspoon salt
1 teaspoon cinnamon
½ teaspoon ground ginger
¼ teaspoon ground cloves
1½ cups milk
2 eggs
1 teaspoon vanilla
¼ cup vegetable oil, or butter, melted and slightly cooled
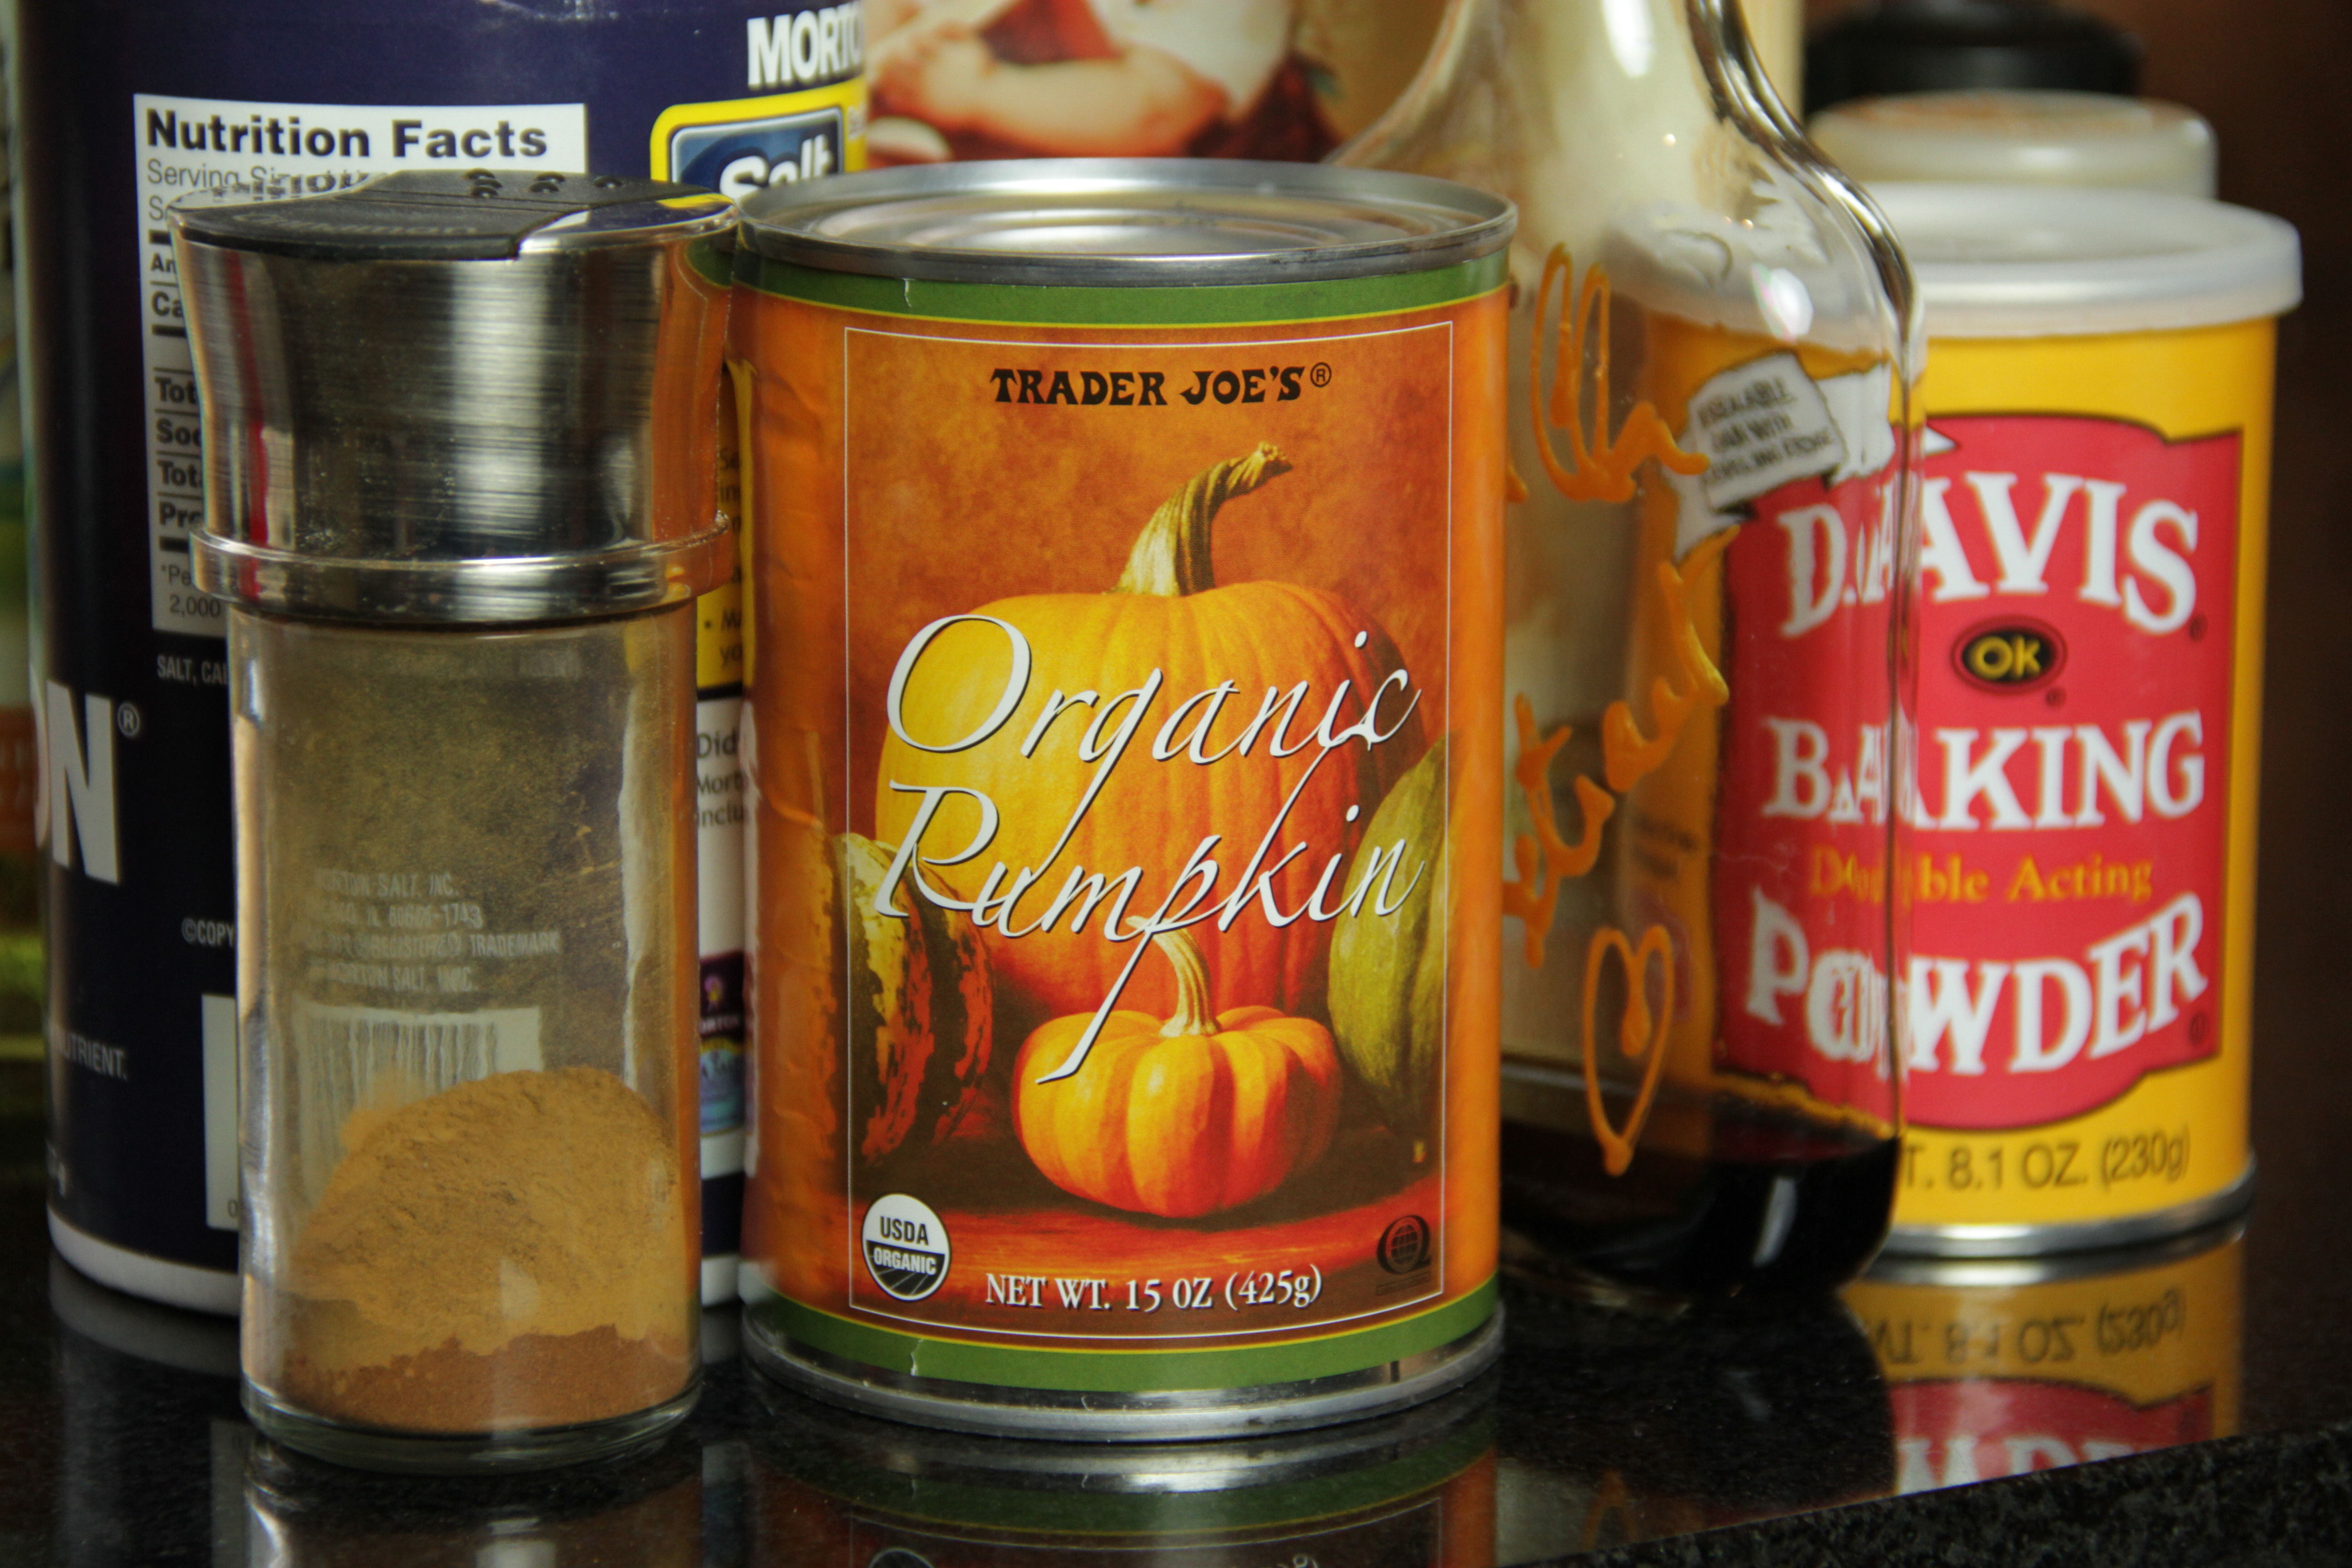
½ cup pumpkin purée (fresh or canned)
Cooking spray
Preparation
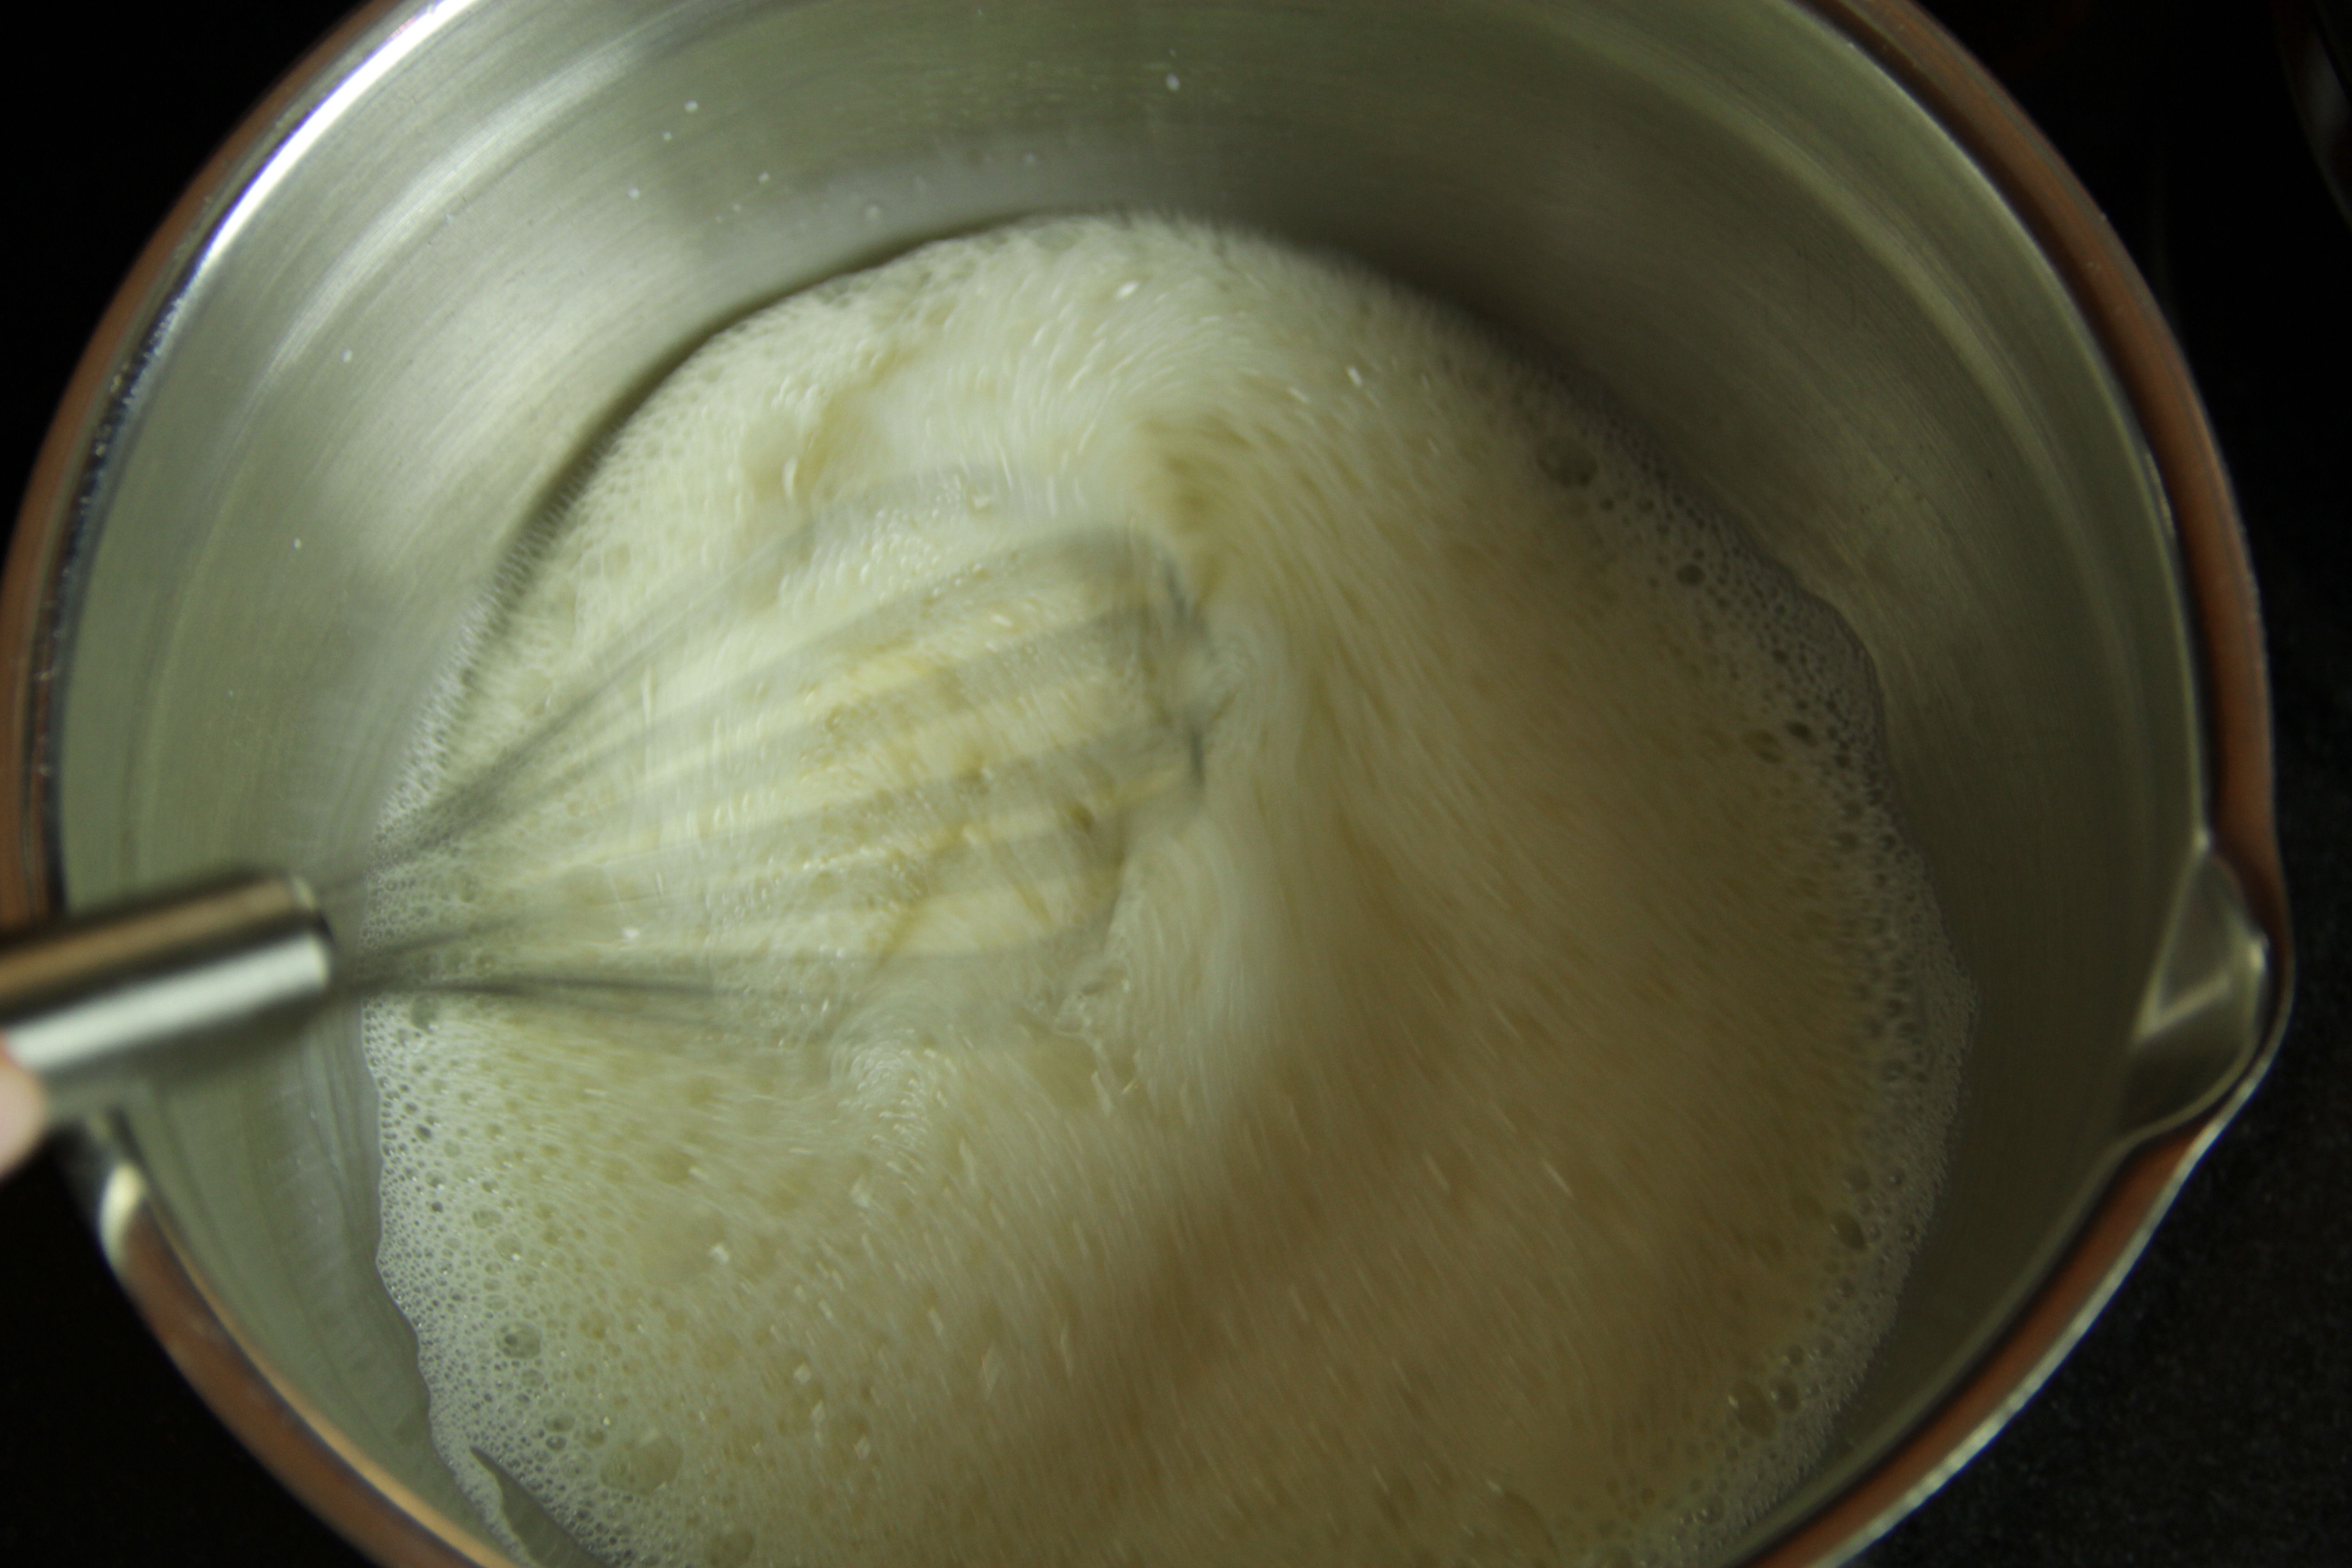
Combine flour, sugar, baking powder, salt, cinnamon, ginger and cloves in large bowl. In separate bowl, add milk, eggs and vanilla and beat until frothy. Pour oil or melted butter into liquid mixture and stir well. Using a wooden spoon or hand mixer, gradually add liquid mixture to dry ingredients until batter is smooth. Stir in pumpkin purée.
Spray waffle iron with cooking spray and heat to high. Pour ½ cup to ¾ cup batter into center of iron, making sure you have enough batter to evenly spread across the surface of your waffle iron. Cook until golden brown and crisp and waffle pulls away easily from iron, about 5 – 7 minutes. Serve warm with melted butter and maple syrup.
Makes approximately 5 waffles.

Bedtime Stories: Sam and Dave Dig a Hole
 Post by Mark T. Locker
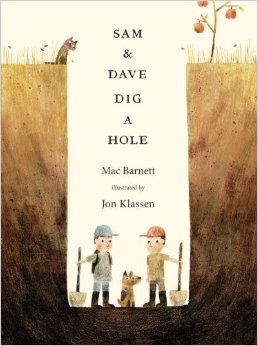
Sam and Dave Dig a Hole by Mac Barnett. Illustrated by Jon Klassen.
My son, at six point three years old, is almost too old for picture books now. While it’s a shame that we won’t have this format to enjoy together forever, it certainly won’t stop me from seeking out new and wonderful picture-heavy reading material for my own enjoyment and for the enrichment of you, the readers. Especially now that Jon Klassen and Mac Barnett have found each other, why would anyone move away from picture books? There can be nothing but great things coming from these two for a long time to come. And any time Adam Rex wants to fill in for Jon Klassen, that’s okay too.
Sam and Dave Dig a Hole is a charming and painful story. Two boys decide to dig down in the yard to see what kinds of treasures they can find. Without giving too much away, let’s just say that the cross-sections of the deep, winding hole they dig show us just how close they come to finding some remarkable treasures. The drawings are wonderful and make the story what it it. Mac Barnett’s touch for subtle humor definitely helps drive this story too. Truly a great collaborative work between some of children’s literature’s great new voices.
Bedroom Design: All About Bedskirts
Post by Tracy Kaler.

Bed skirts or dust ruffles, as we often call them, are decorative treatments that hide box springs and keep dirt and dust from collecting underneath the bed. Let’s get the lowdown on bed skirts.
Pleated vs. Gathered
Box-pleated bed skirts offer a cleaner, more modern or eclectic look, while ruffled or gathered skirts tend to appear more feminine or traditional. Pleated options are geometric, while gathered styles are less structured and require more fabric.

Construction
The most secure bed skirt is one with decking attached. This piece of material, which goes on top of the box spring and is never seen, keeps the dust ruffle secure and unable to move around. Removing a deck bed skirt isn’t easy, however. You have to take off the bedding and the mattress to remove this type of dust ruffle.
Other bed skirts come in panels: one for each side of the bed and one along the foot. Most often, these dust ruffles are safety pinned and much less secure than those with decking. These can shift easily, but also be removed without a hitch. No lifting of the mattress is required.
Design
You can make a dust ruffle from almost any fabric –– try a cotton chintz or a matelasse, a suede, or even a silk –– a bed skirt’s possibilities are endless. Match your bedding, or select a contrasting color. Line your bed skirt with a coordinating material.
Some even have added embellishments like gimp, cord or tape. Trimmed or not, a bed skirt can tie in bed coverings and linens with the remainder of the decorative scheme in a bedroom for not a lot of yardage or money. A new bed skirt and coordinated shams are a simple way to freshen the look of your bedroom, and can be changed every few years as you see fit.

Breakfast in Bed – Date Nut Bread

Post by Alison Hein.
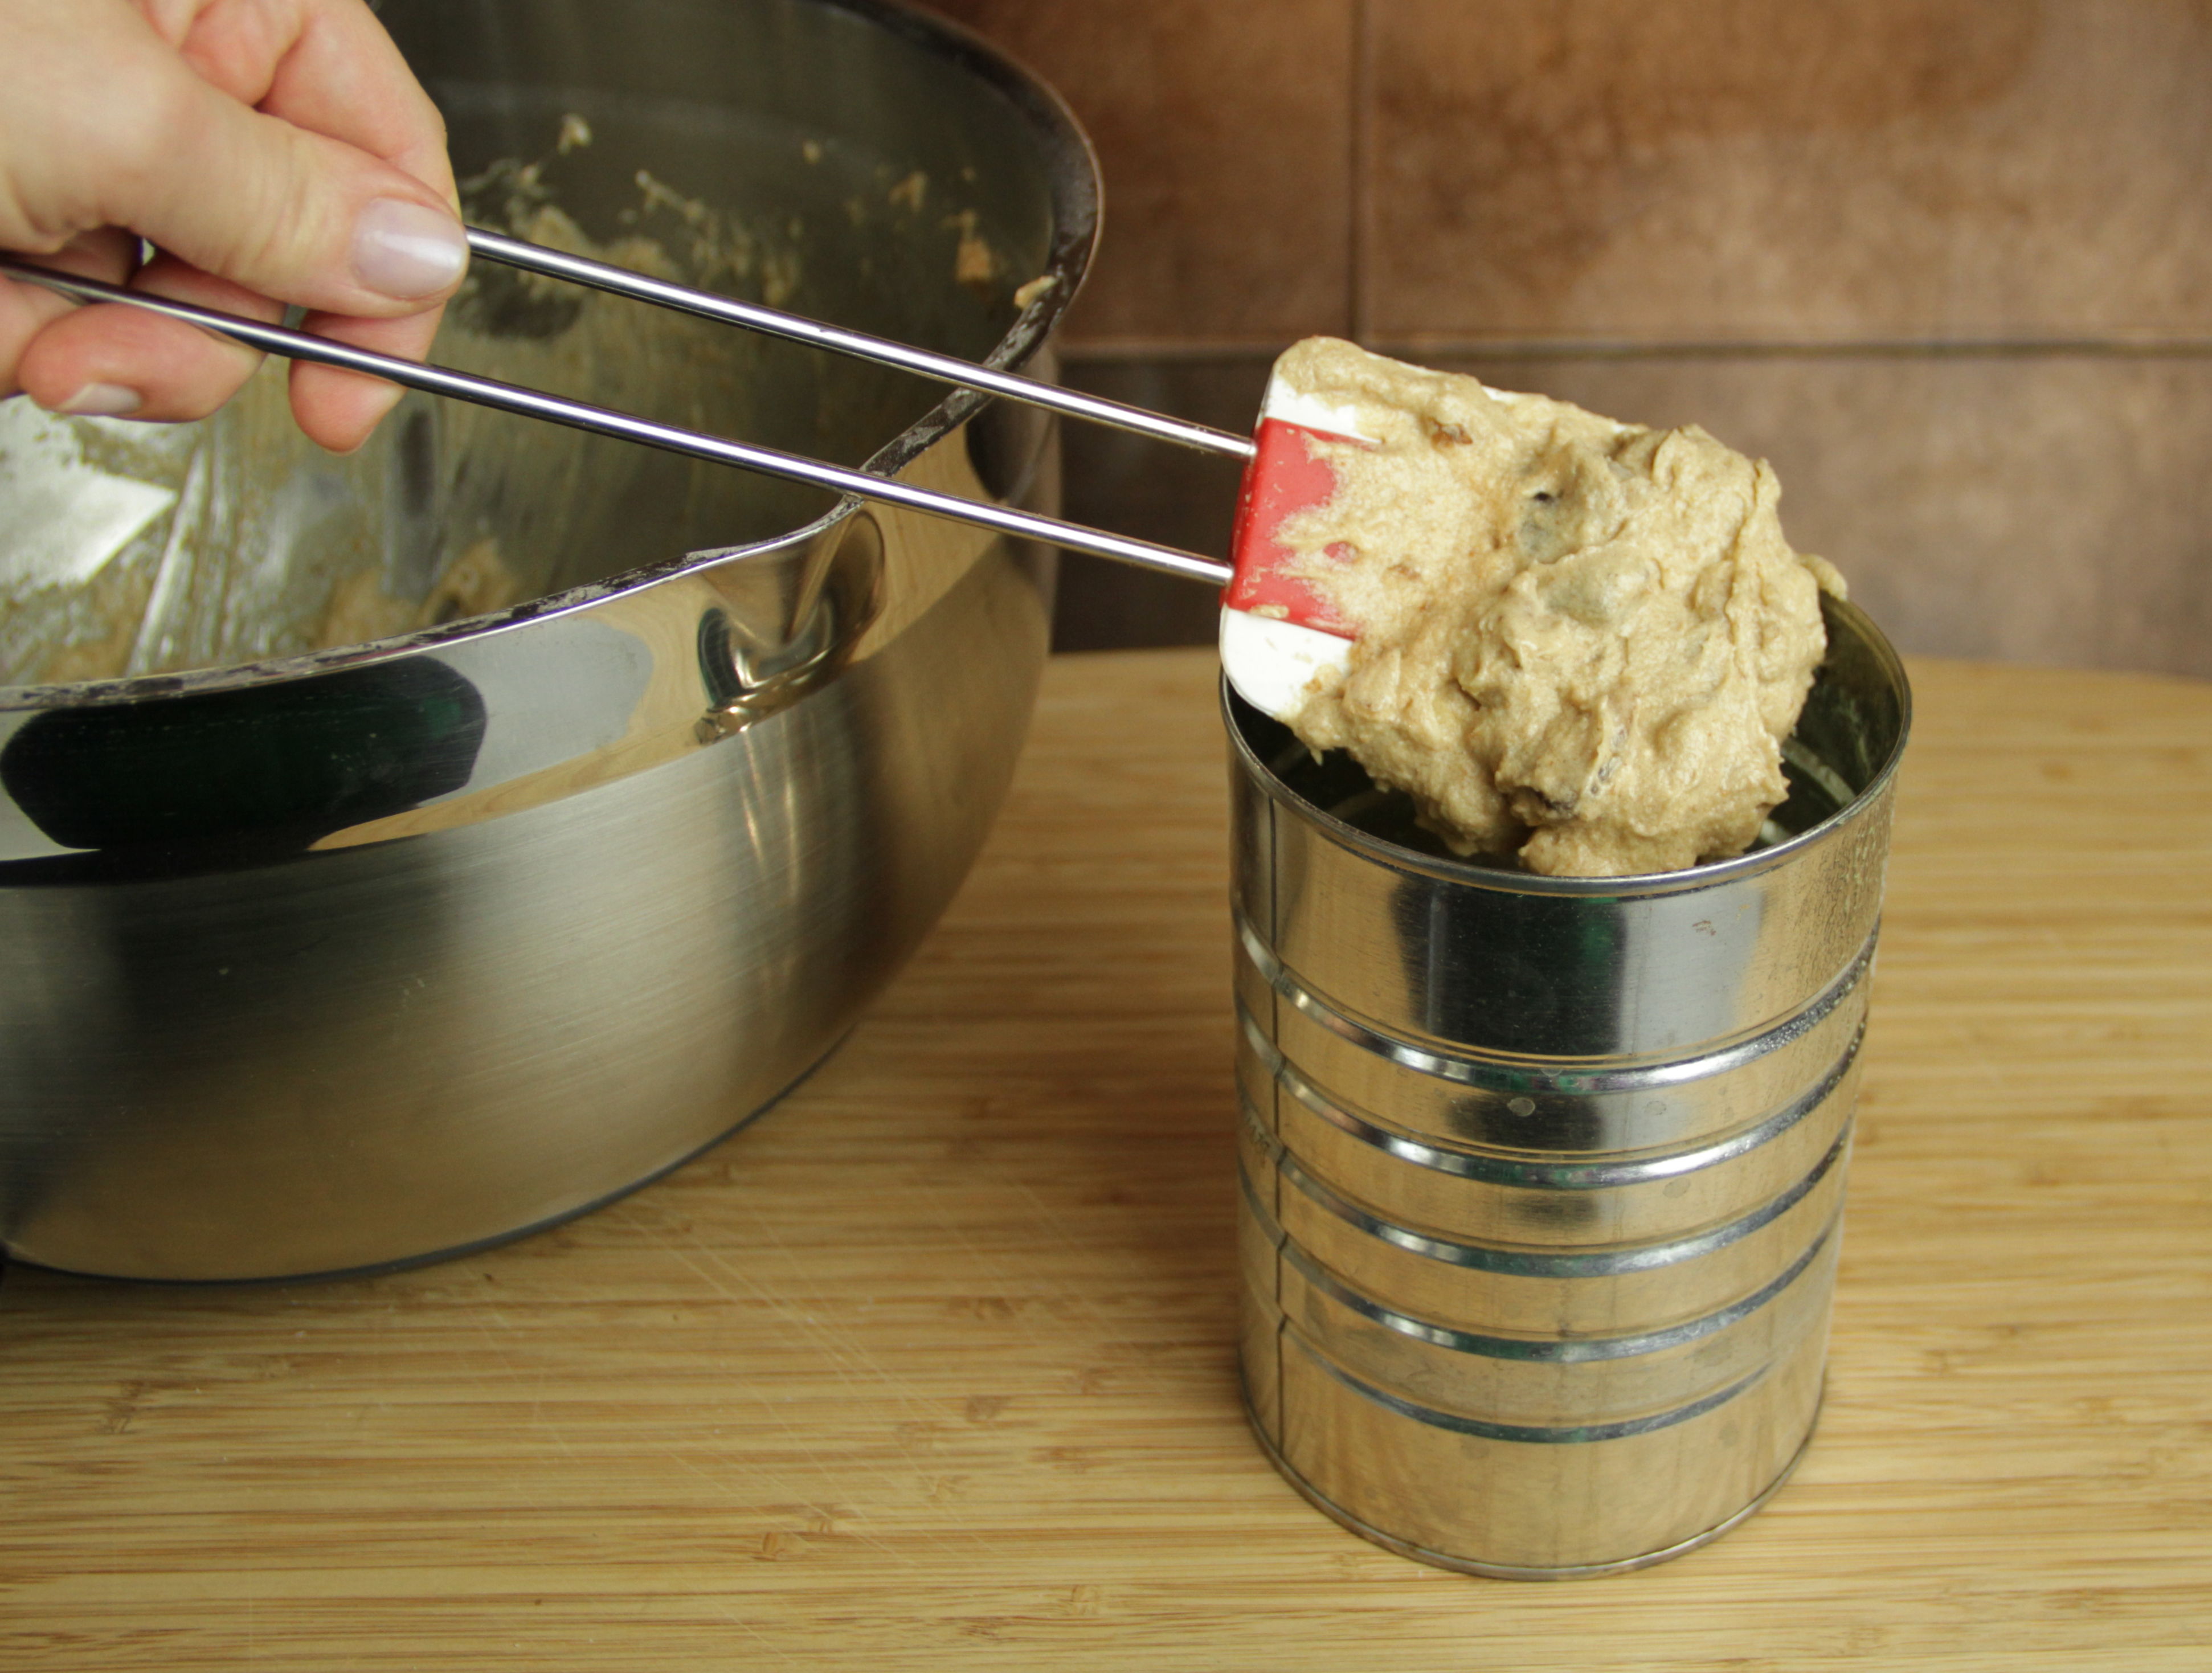
My grandma used to bake Date Nut Bread in an old coffee can. It was common practice to clean and generously grease a coffee tin with shortening, then fill it with batter, place it in a hot oven, and bake a dense, round loaf. As kids, we would anxiously gather around the stove, inhaling the baking bread’s sweet aroma, eagerly awaiting its completion.
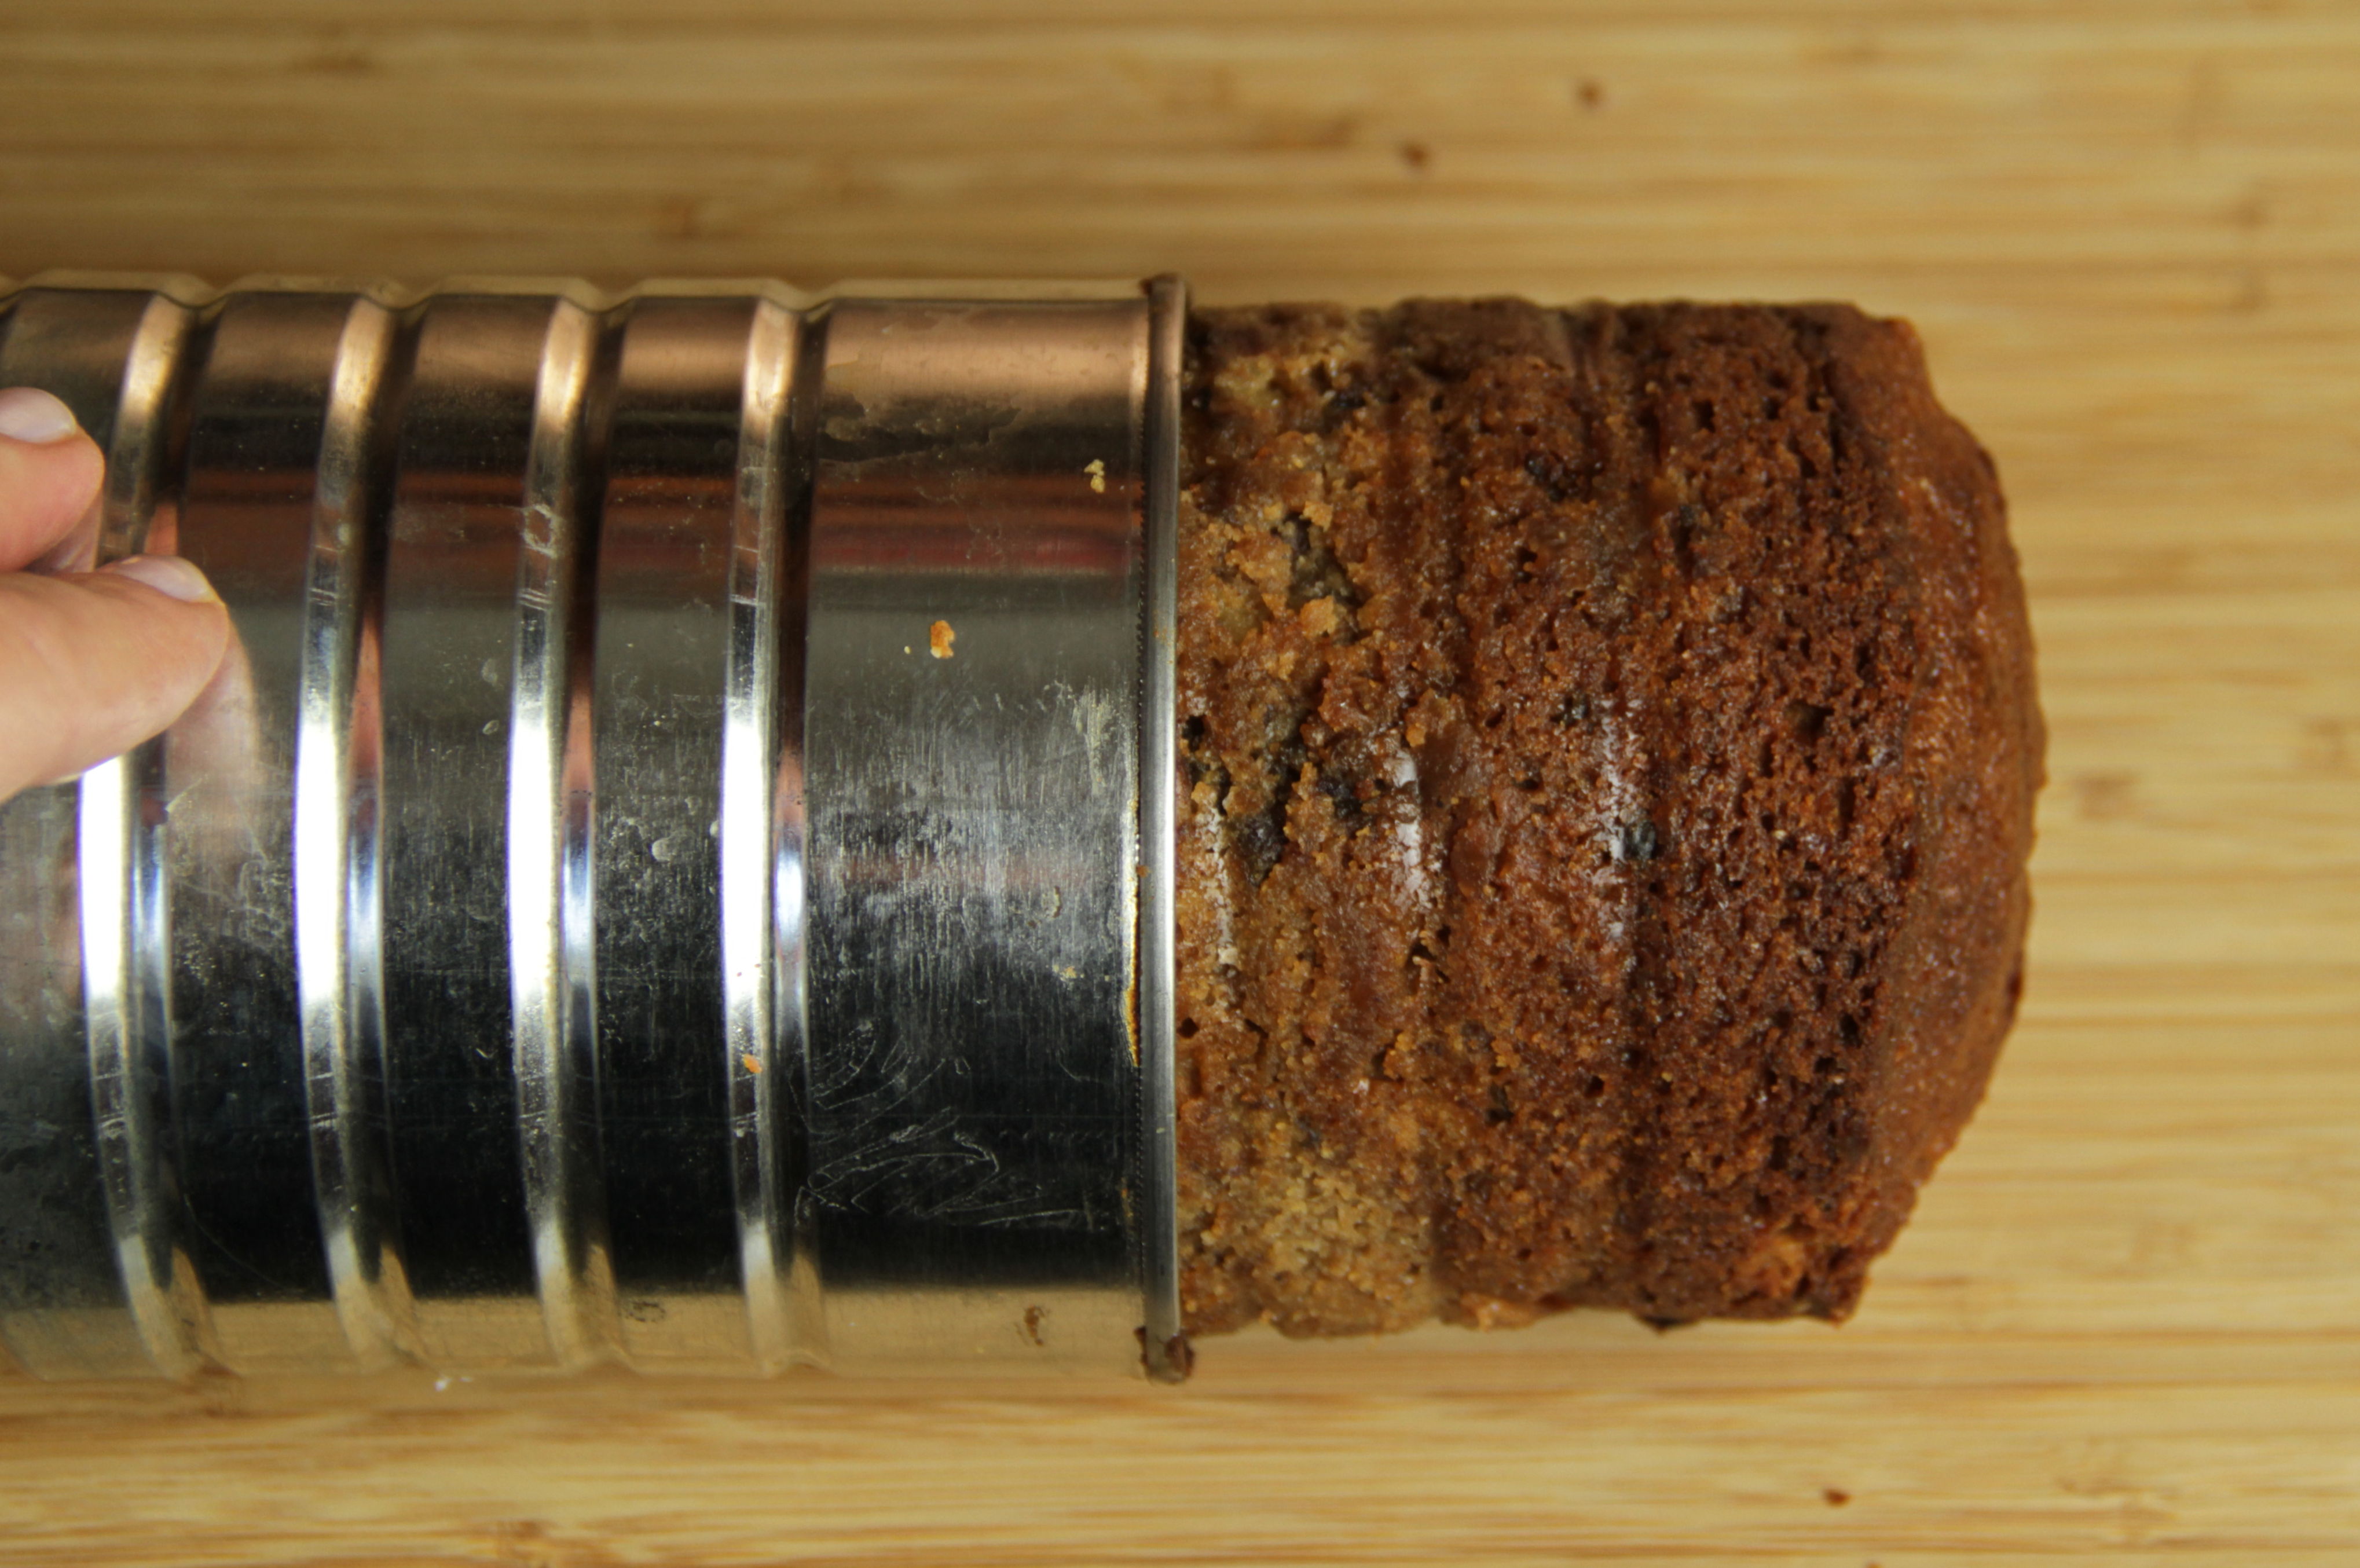
While you still see many round bread loaves (Boston Brown Bread as well as Date Nut and Raisin Nut), it is becoming ever more difficult to locate tin, oven-proof coffee containers. Check carefully in the grocery store before purchasing, as many modern containers are made of paper, plastic or cardboard – none of which work well in the oven!
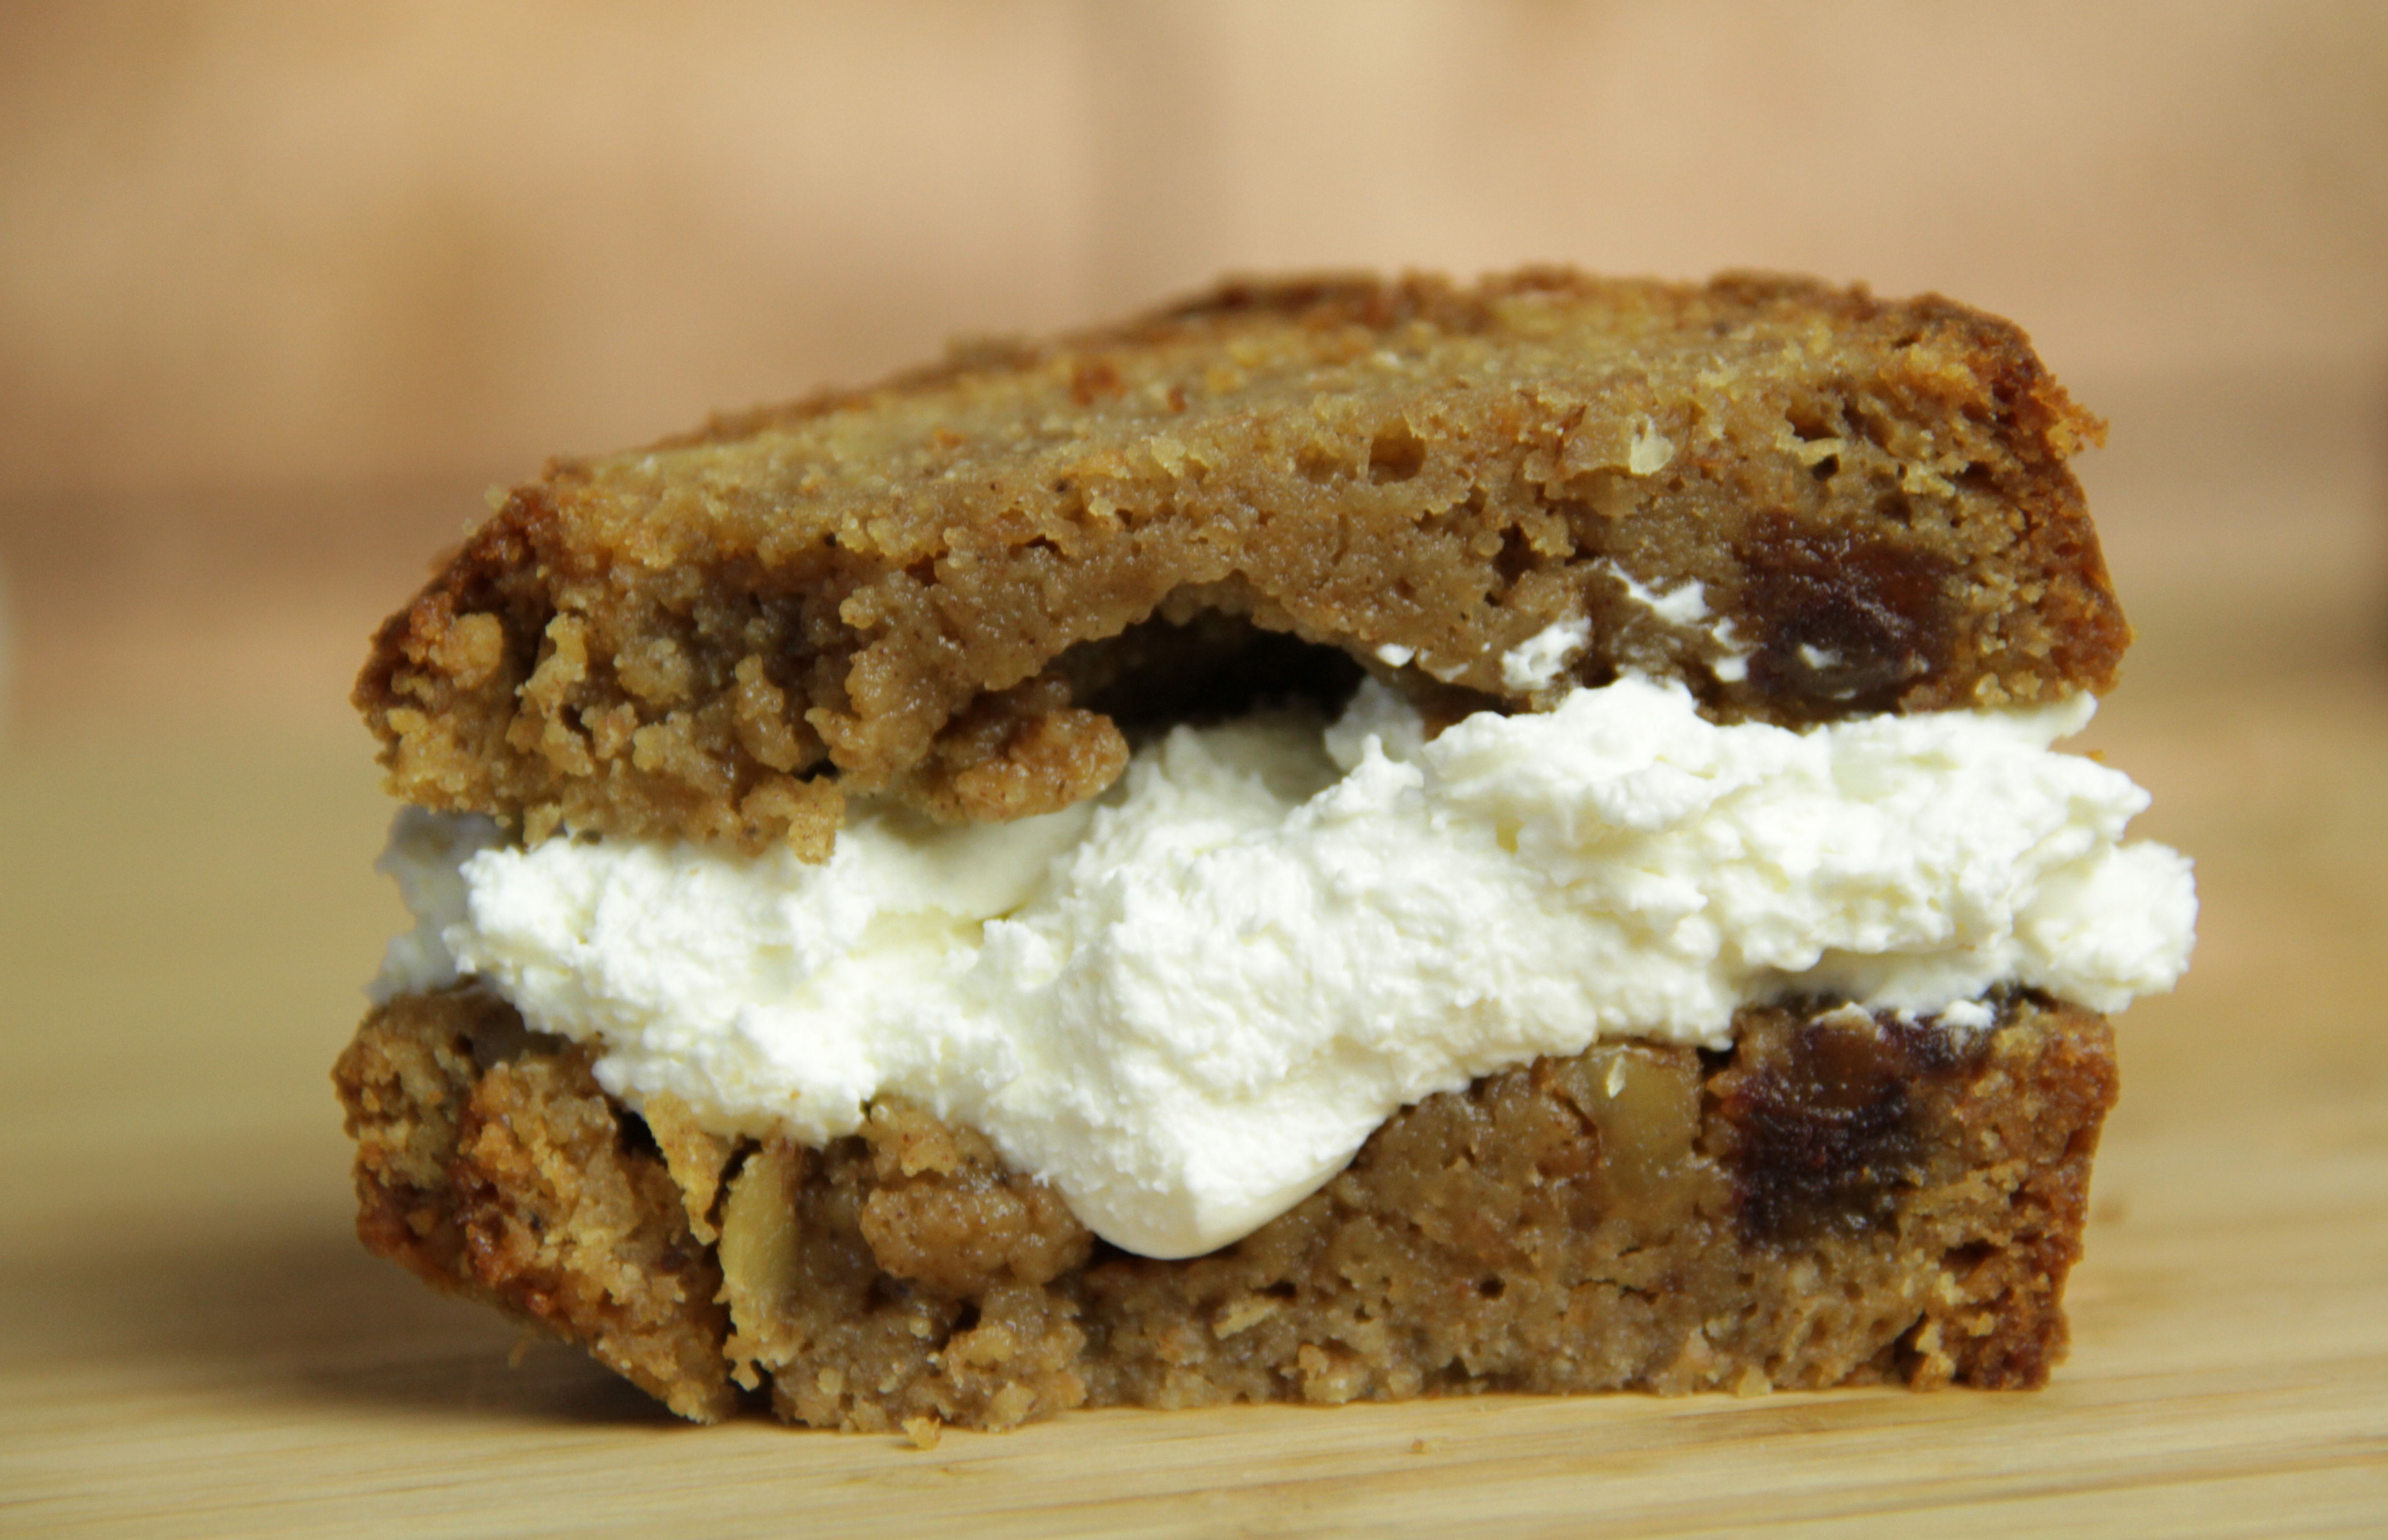
My ongoing frustration with food history compelled me to skip it for this post (so many claim to be the originators of Date Nut Bread!), with one important exception. In the 1950s and ‘60s, when Chock Full o’Nuts lunch counters were wildly prolific, Date Nut Sandwiches – two thick slices of Date Nut Bread slathered with cream cheese – were a star of the menu.
Chock Full o’Nuts tried to make a recent comeback with mixed results. The company still makes and sells its popular coffee (anyone remember the famous “heavenly coffee” jingle?). Why not go buy some? Make a giant pot of coffee, then use the canister to whip up a loaf of Date Nut Bread. Bake. Cool. Slice. Slather with cream cheese. Pour yourself a steaming cup and reminisce over a heavenly breakfast in bed.
Equipment
1 tin coffee can, with top removed
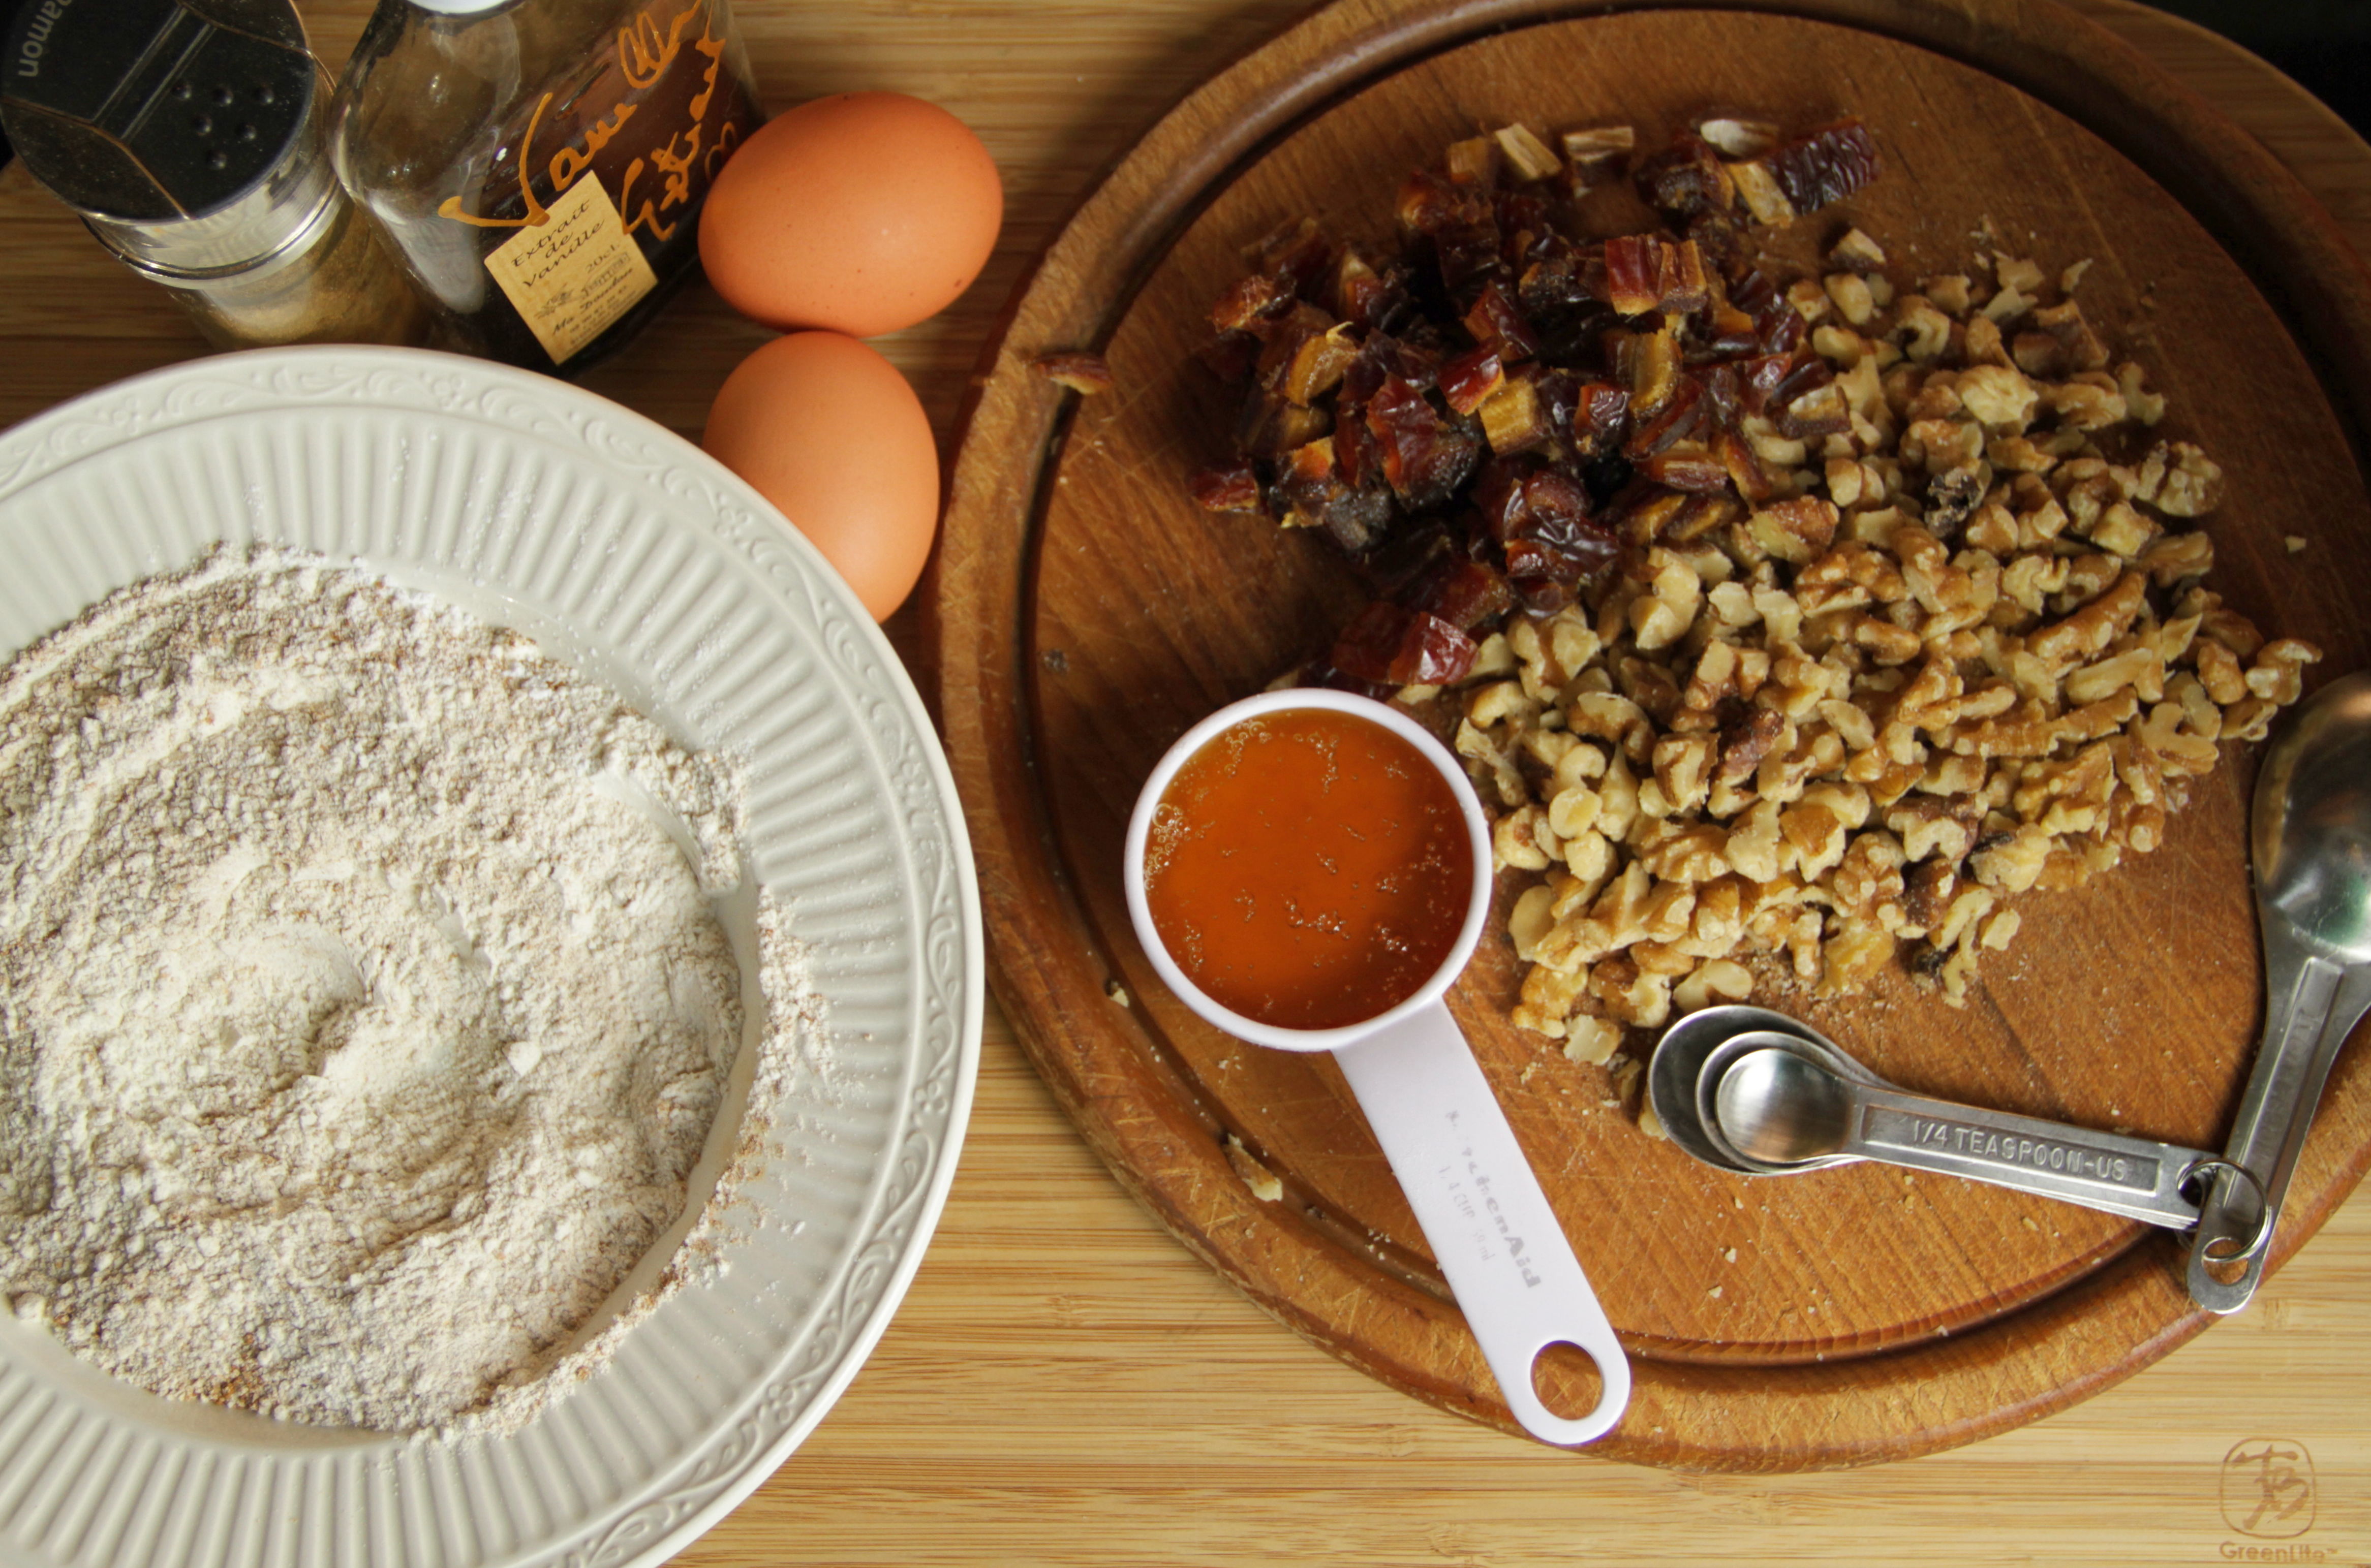
Ingredients
½ cup butter
½ cup light brown sugar
1 cup white flour
¼ cup whole wheat flour
2 teaspoons baking powder
½ teaspoon salt
1 teaspoon cinnamon
½ teaspoon nutmeg
2 eggs
1/4 cup honey
1 teaspoon vanilla
1 cup chopped dates
1 cup chopped walnuts
Cooking spray, or other shortening, for greasing coffee can
Preparation
Preheat oven to 350°. In a large bowl, beat butter and sugar until creamy. In a separate bowl, mix together white flour, wheat flour, baking powder, baking soda, salt, cinnamon and nutmeg. Add dry ingredients all at once to butter mixture, stirring to combine. Add eggs, honey and vanilla. Mix well. Stir in dates and walnuts. Spoon batter into a well-greased coffee can. Bake at 350° for about 60 minutes, or until toothpick inserted in center comes out clean. Cool on rack at least 20 minutes. Remove from coffee can and slice.
Makes one loaf.
Bedtime Stories: Crazy new adventures by Neil Gaiman
 Post by Mark T. Locker.
Fortunately, the Milk by Neil Gaiman.
Neil Gaiman is one of the most diverse and prolific writers I know of. From eerie to fantastic (and often a bit of both), from picture books to long novels for adults, Gaiman covers the gamut. Best known, perhaps, for his super scary young adult book Coraline which was made into a movie, he has taken a turn with his newest book, a short picture-filled story called Fortunately, the Milk. The story begins with a family that is fresh out of milk. The father steps out to the corner store to pick some up. When he doesn’t return for a long time, his two girls begin to worry. Finally, after a very long time (far longer than it should take to get some milk from the corner store) he returns. When asked what took him so long, he relates the long and inexplicable tale of what befell him when he left the market.
The rest of the book is the story of what took him so long, with occasional interjections by his daughters. It’s way more incredible than you’d dare think. Burbling green aliens hell-bent on redecorating Earth in a most tasteless manner is only the beginning. A stegosaurus in a time-travelling hot-air balloon named Professor Steg is to be his companion through time and space for a large portion of his journey. The father is hilariously focused on making sure the bottle of milk is safe throughout the entire ordeal. Hence the title, Fortunately, the Milk. “Fortunately, the milk was safely tucked away when the volcano erupted” for example.
My son and I both had a great time reading this book. I was worried it might be too random and nonsensical but it manages to retain a fairly cohesive, if totally weird, narrative thread. The only difficulty is that there are no chapter breaks, so reading at bedtime is a challenge. You have to choose an arbitrary stopping point which is easier to argue over than a chapter’s end. Super fun and imaginative book for kids 6-10.

